

Overview
A custom role bundles the scopes you pick. A group holds members, and every member inherits the group’s roles. OpenMembers in the organization sidebar (/organization/members). On Enterprise, the Roles and Groups tabs sit beside Members.
Without Enterprise, or without org:rbac:read, the Members page shows the member table with no tabs.
Create a custom role
Creating a role requiresorg:rbac:create.
1
Open the Roles tab
Open the Roles tab and click
Create role.2
Name the role and set permissions
Enter a 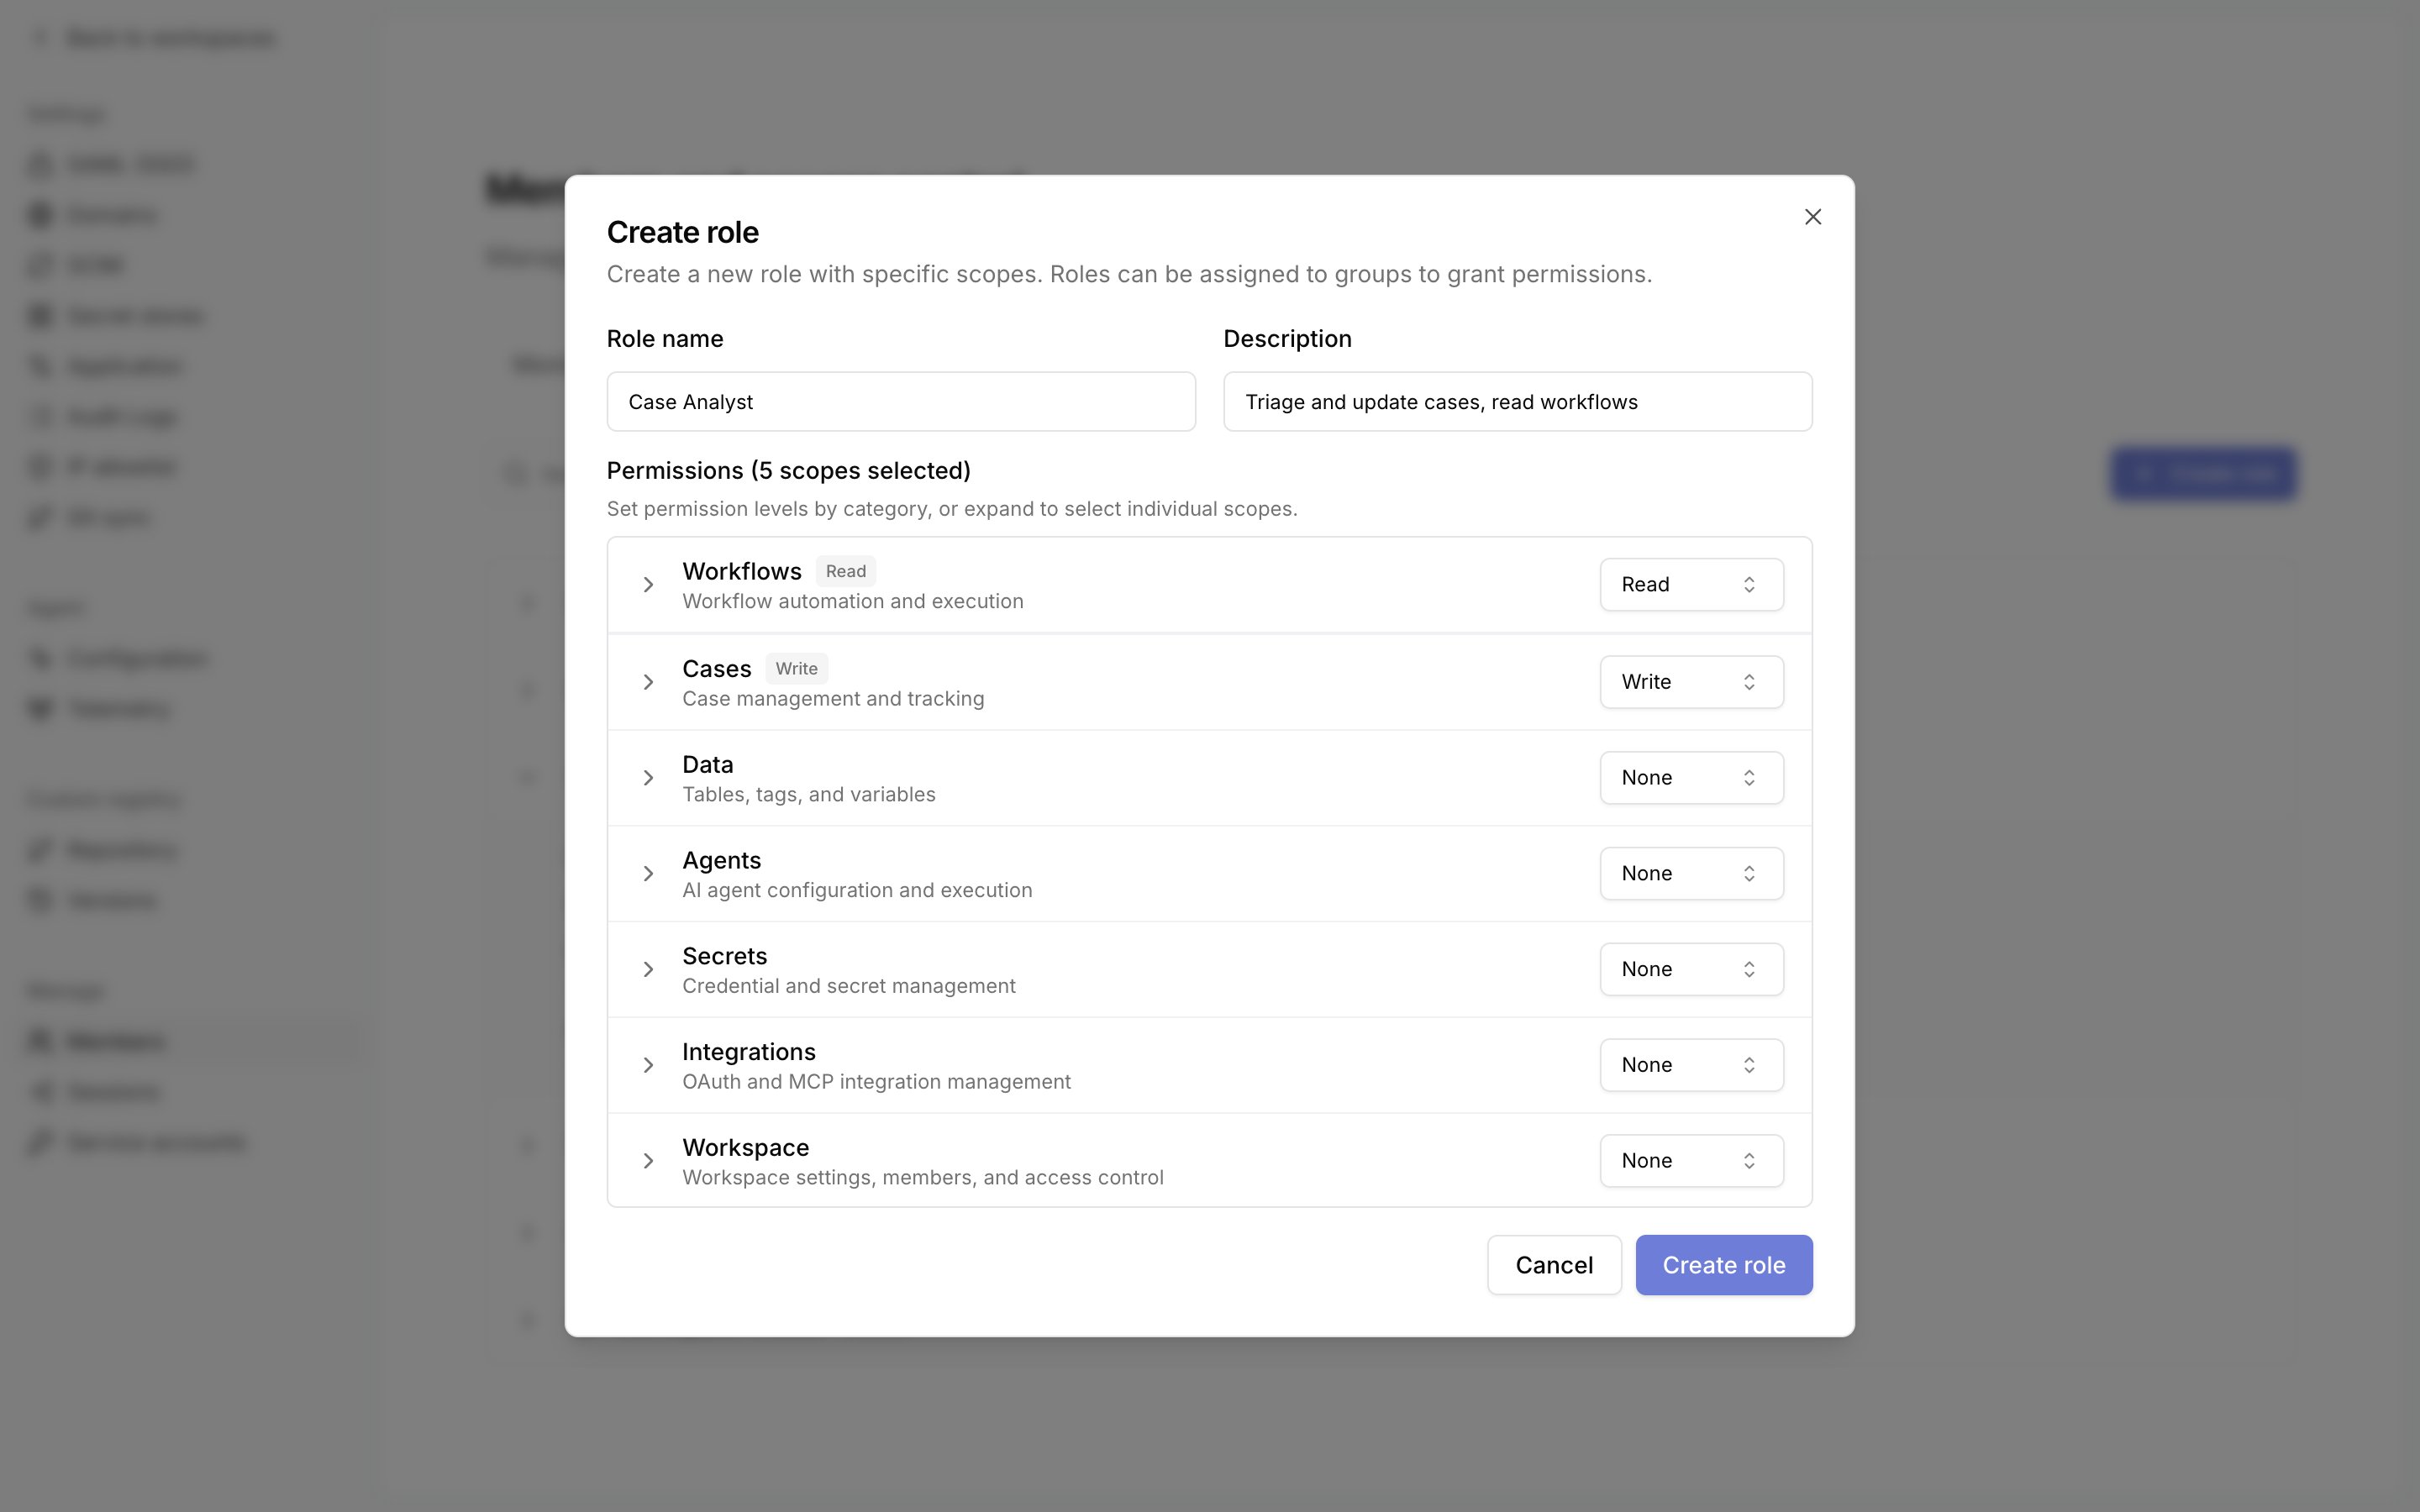
Role name and an optional Description. Set a level for each category under Permissions, or expand a category to select individual scopes.You can grant only scopes you hold yourself. Tracecat refuses the rest with
Cannot grant scopes not held by the caller.3
Create the role
Click 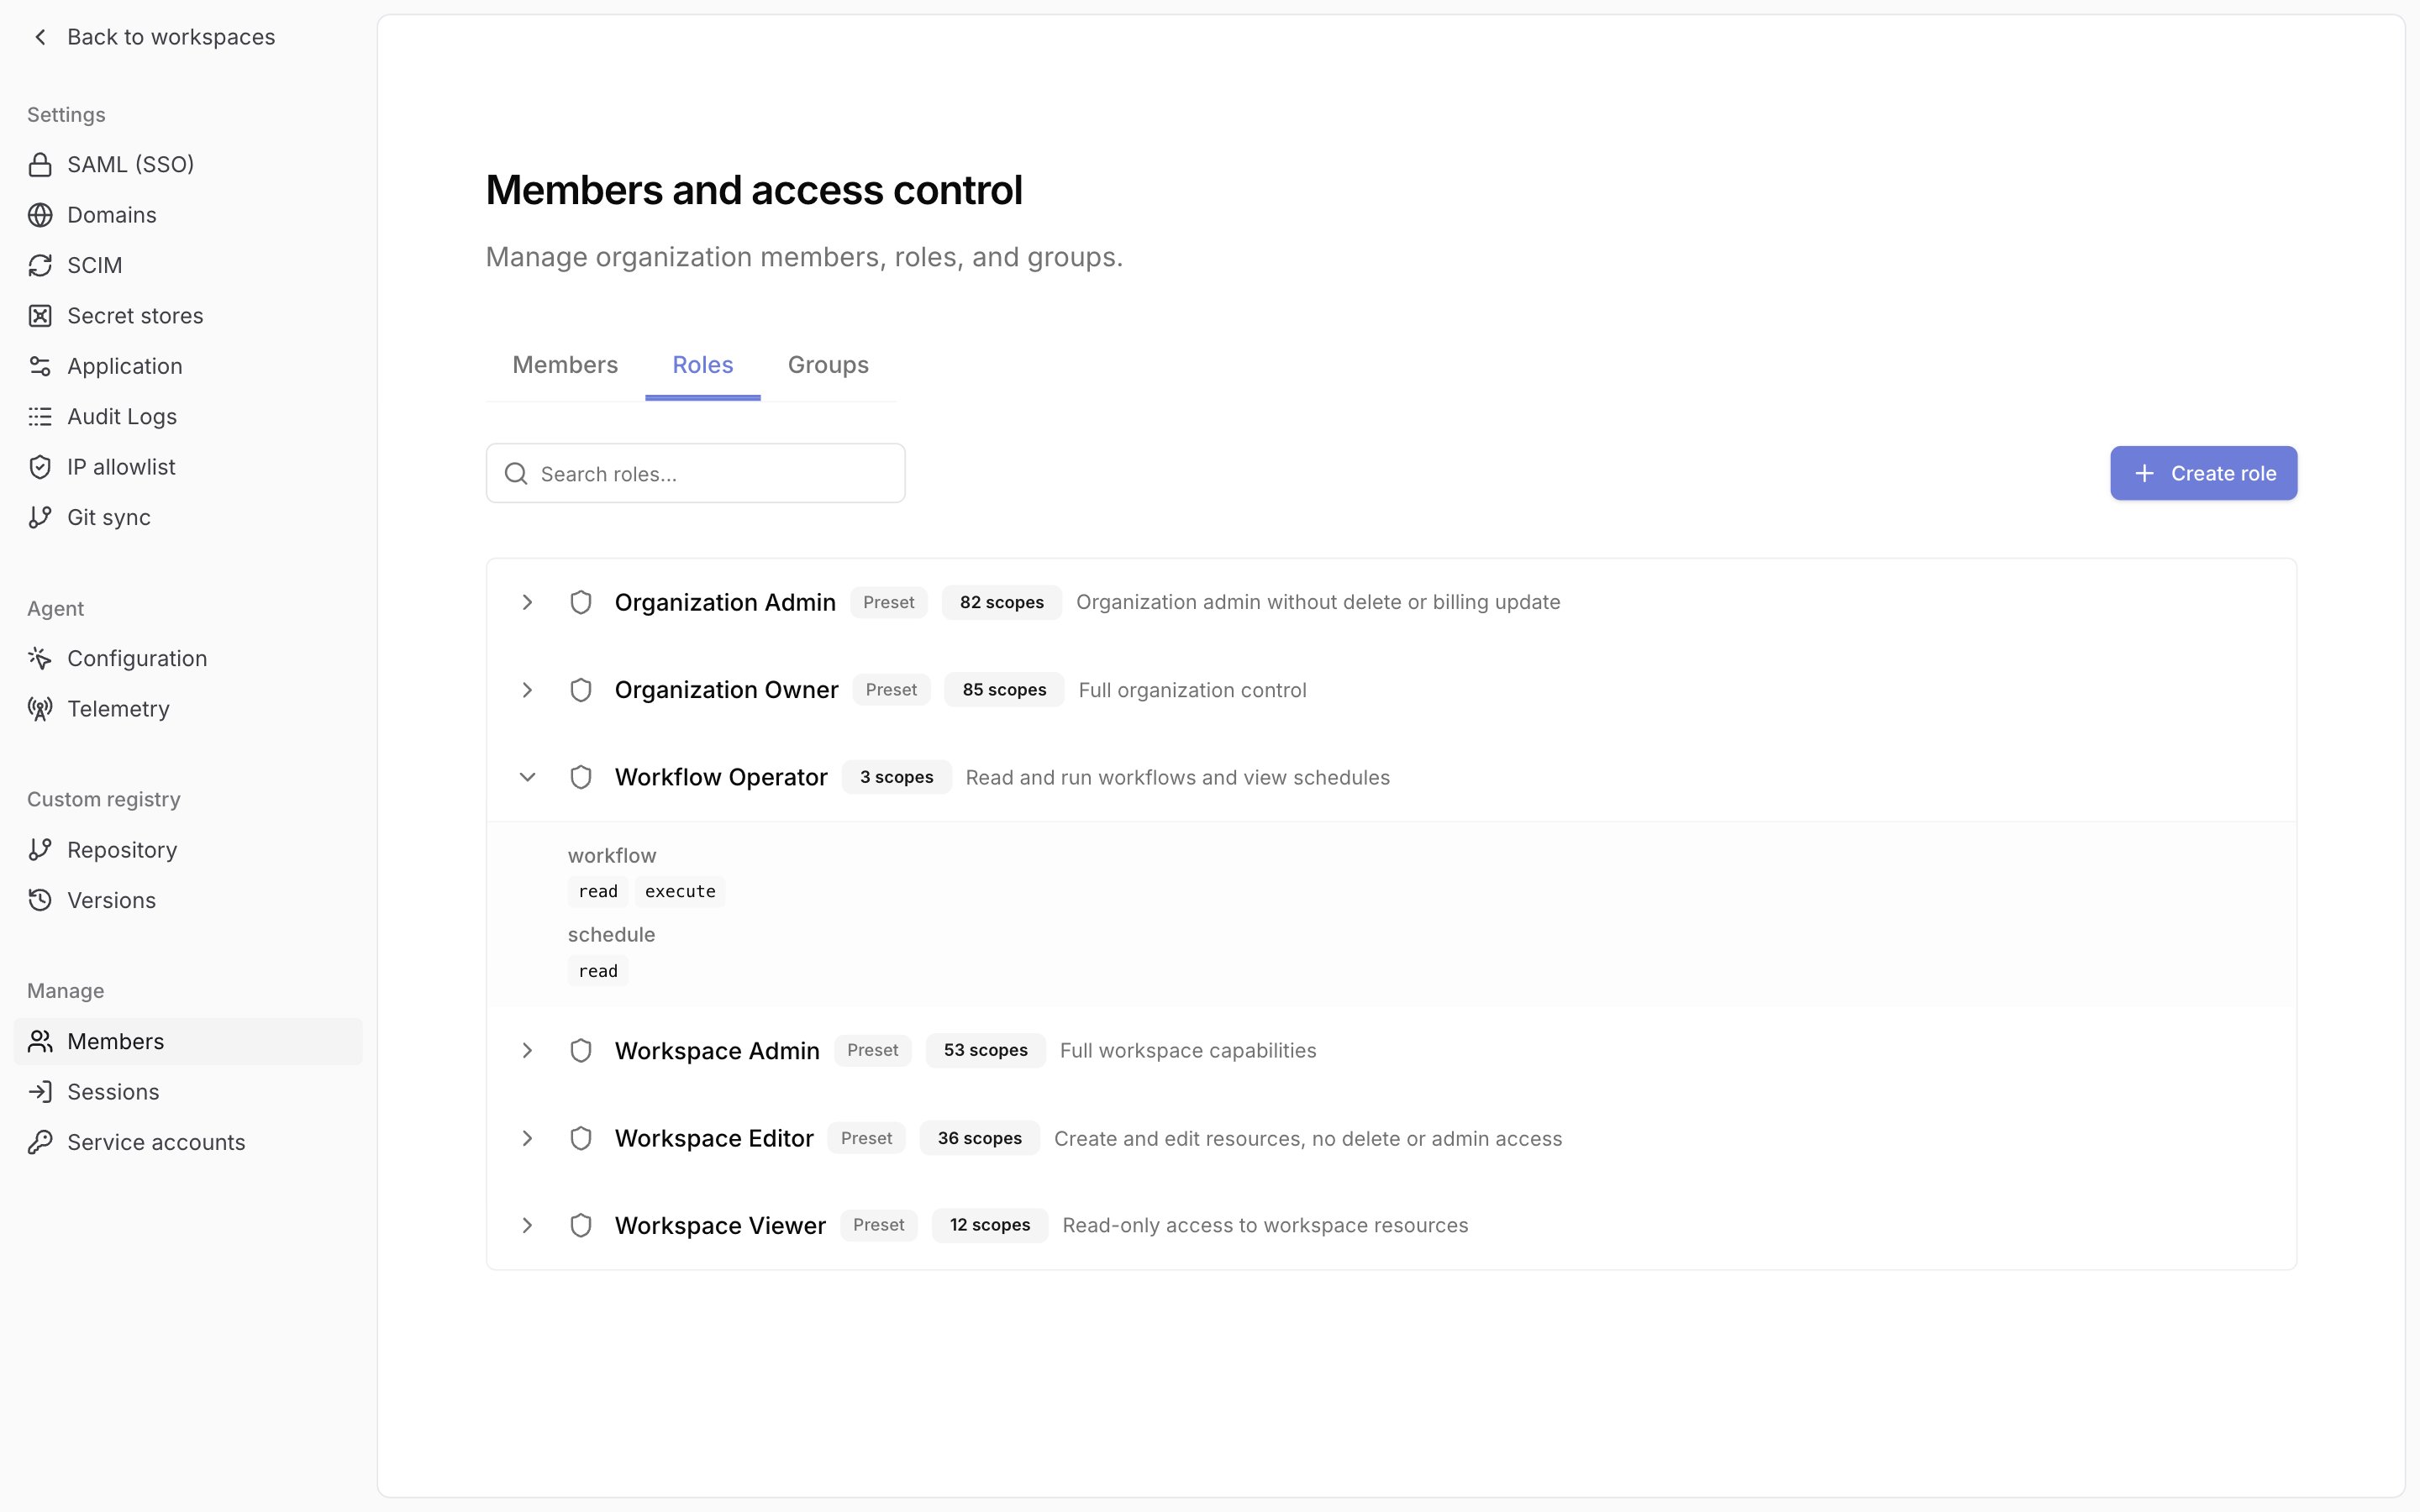
Create role. The role appears in the list with its scope count and description. Expand a row to see its scopes.Organization scope is an organization role and is assigned organization-wide only.
A custom role’s row menu has Copy role ID, Edit role, and Delete role. Preset roles carry a Preset badge and have Copy role ID only.
Tracecat refuses deleting a role that is in use:
Create a group
1
Create the group
Open the Groups tab and click
Create group. Enter a Group name and an optional description, then click Create group. This requires org:rbac:create. Tracecat refuses a duplicate name with A group with this name already exists.2
Expand the group
Click the group’s row. It expands to a 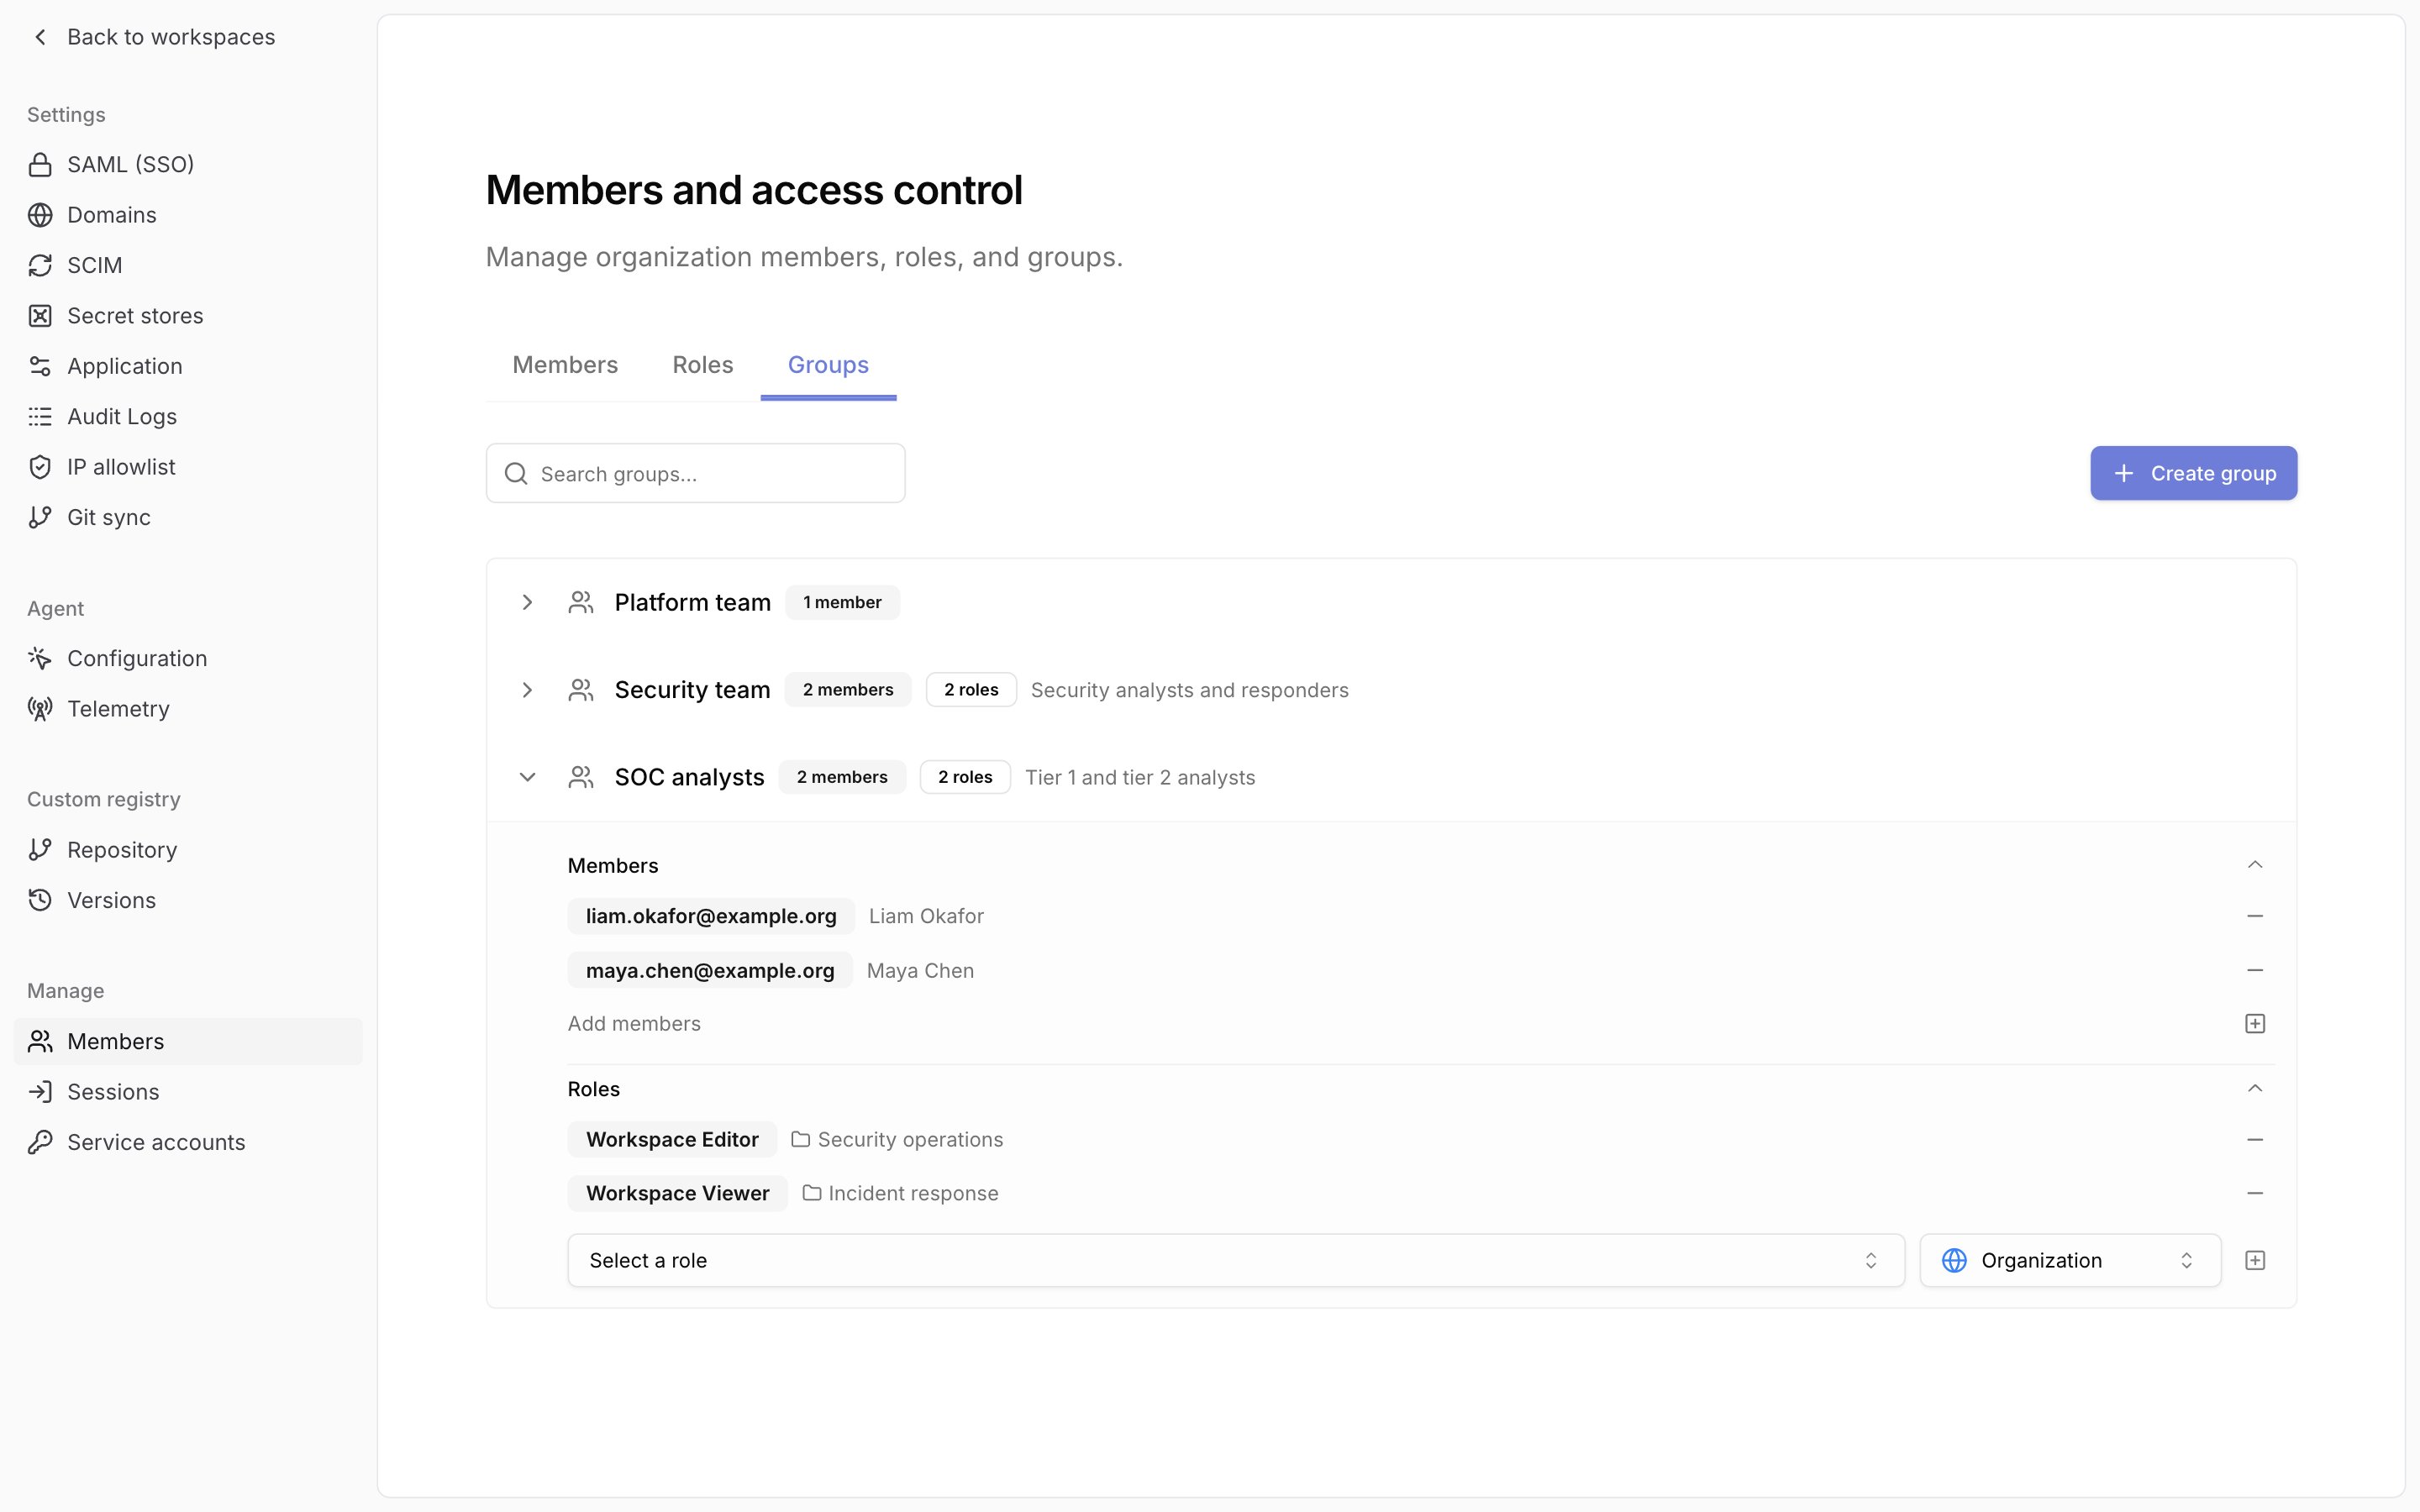
Members section and a Roles section.3
Add members
Click 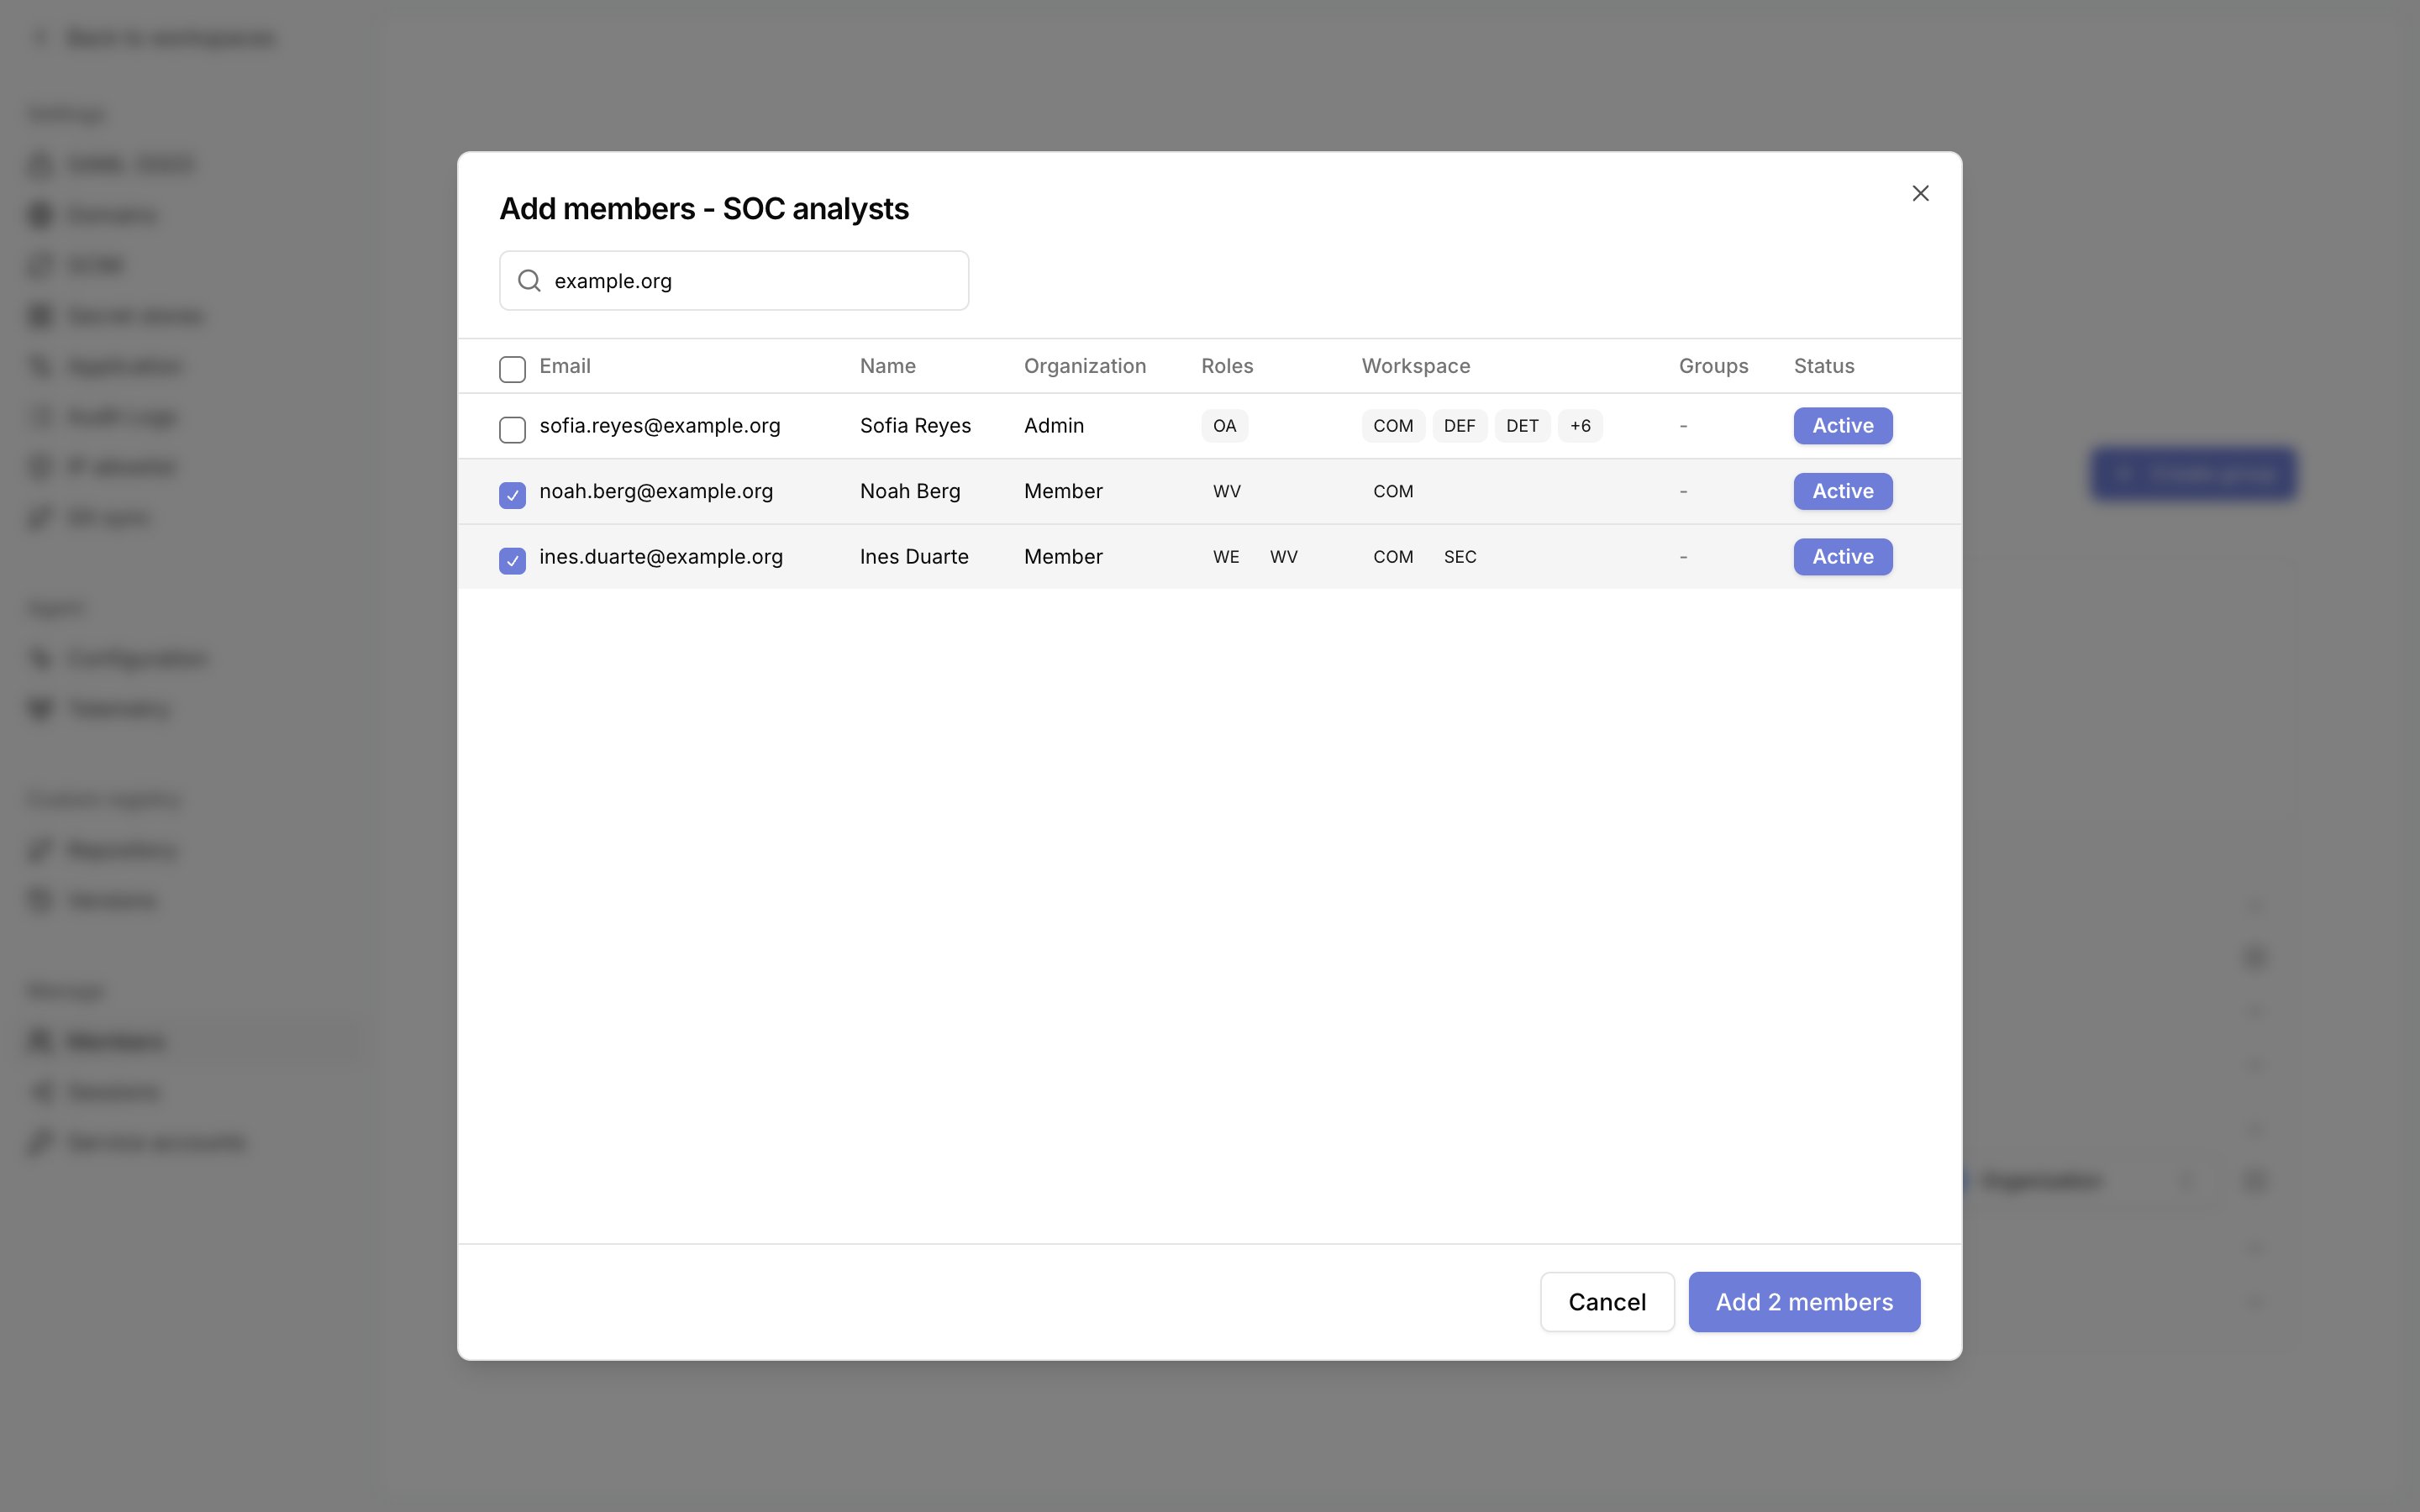
Add members. Search by email or name, tick the members to add, then click Add N members. The header checkbox selects every listed member.org:rbac:update. You must hold every scope in the group’s roles.4
Assign roles
In the
Roles section, select a scope of Organization or one workspace, select a role, then click the plus button. This requires org:rbac:create.A group holds one role per scope. Tracecat refuses a second with Group already has an assignment for this workspace.org:rbac:delete.
The group’s row menu has Copy group ID, Edit group, and Delete group. Deleting a group removes its role assignments.
An identity provider manages the membership of a group mapped through SCIM. That group shows Membership is managed by your identity provider. Edit members there. and has no Add members or remove buttons. You can still change its roles.
Invite a member into groups
The invite dialog showsGroups when you hold org:rbac:update and org:rbac:read.
1
Open the invite dialog
On the Members tab, click
Invite member and enter the Email.2
Select groups
Open 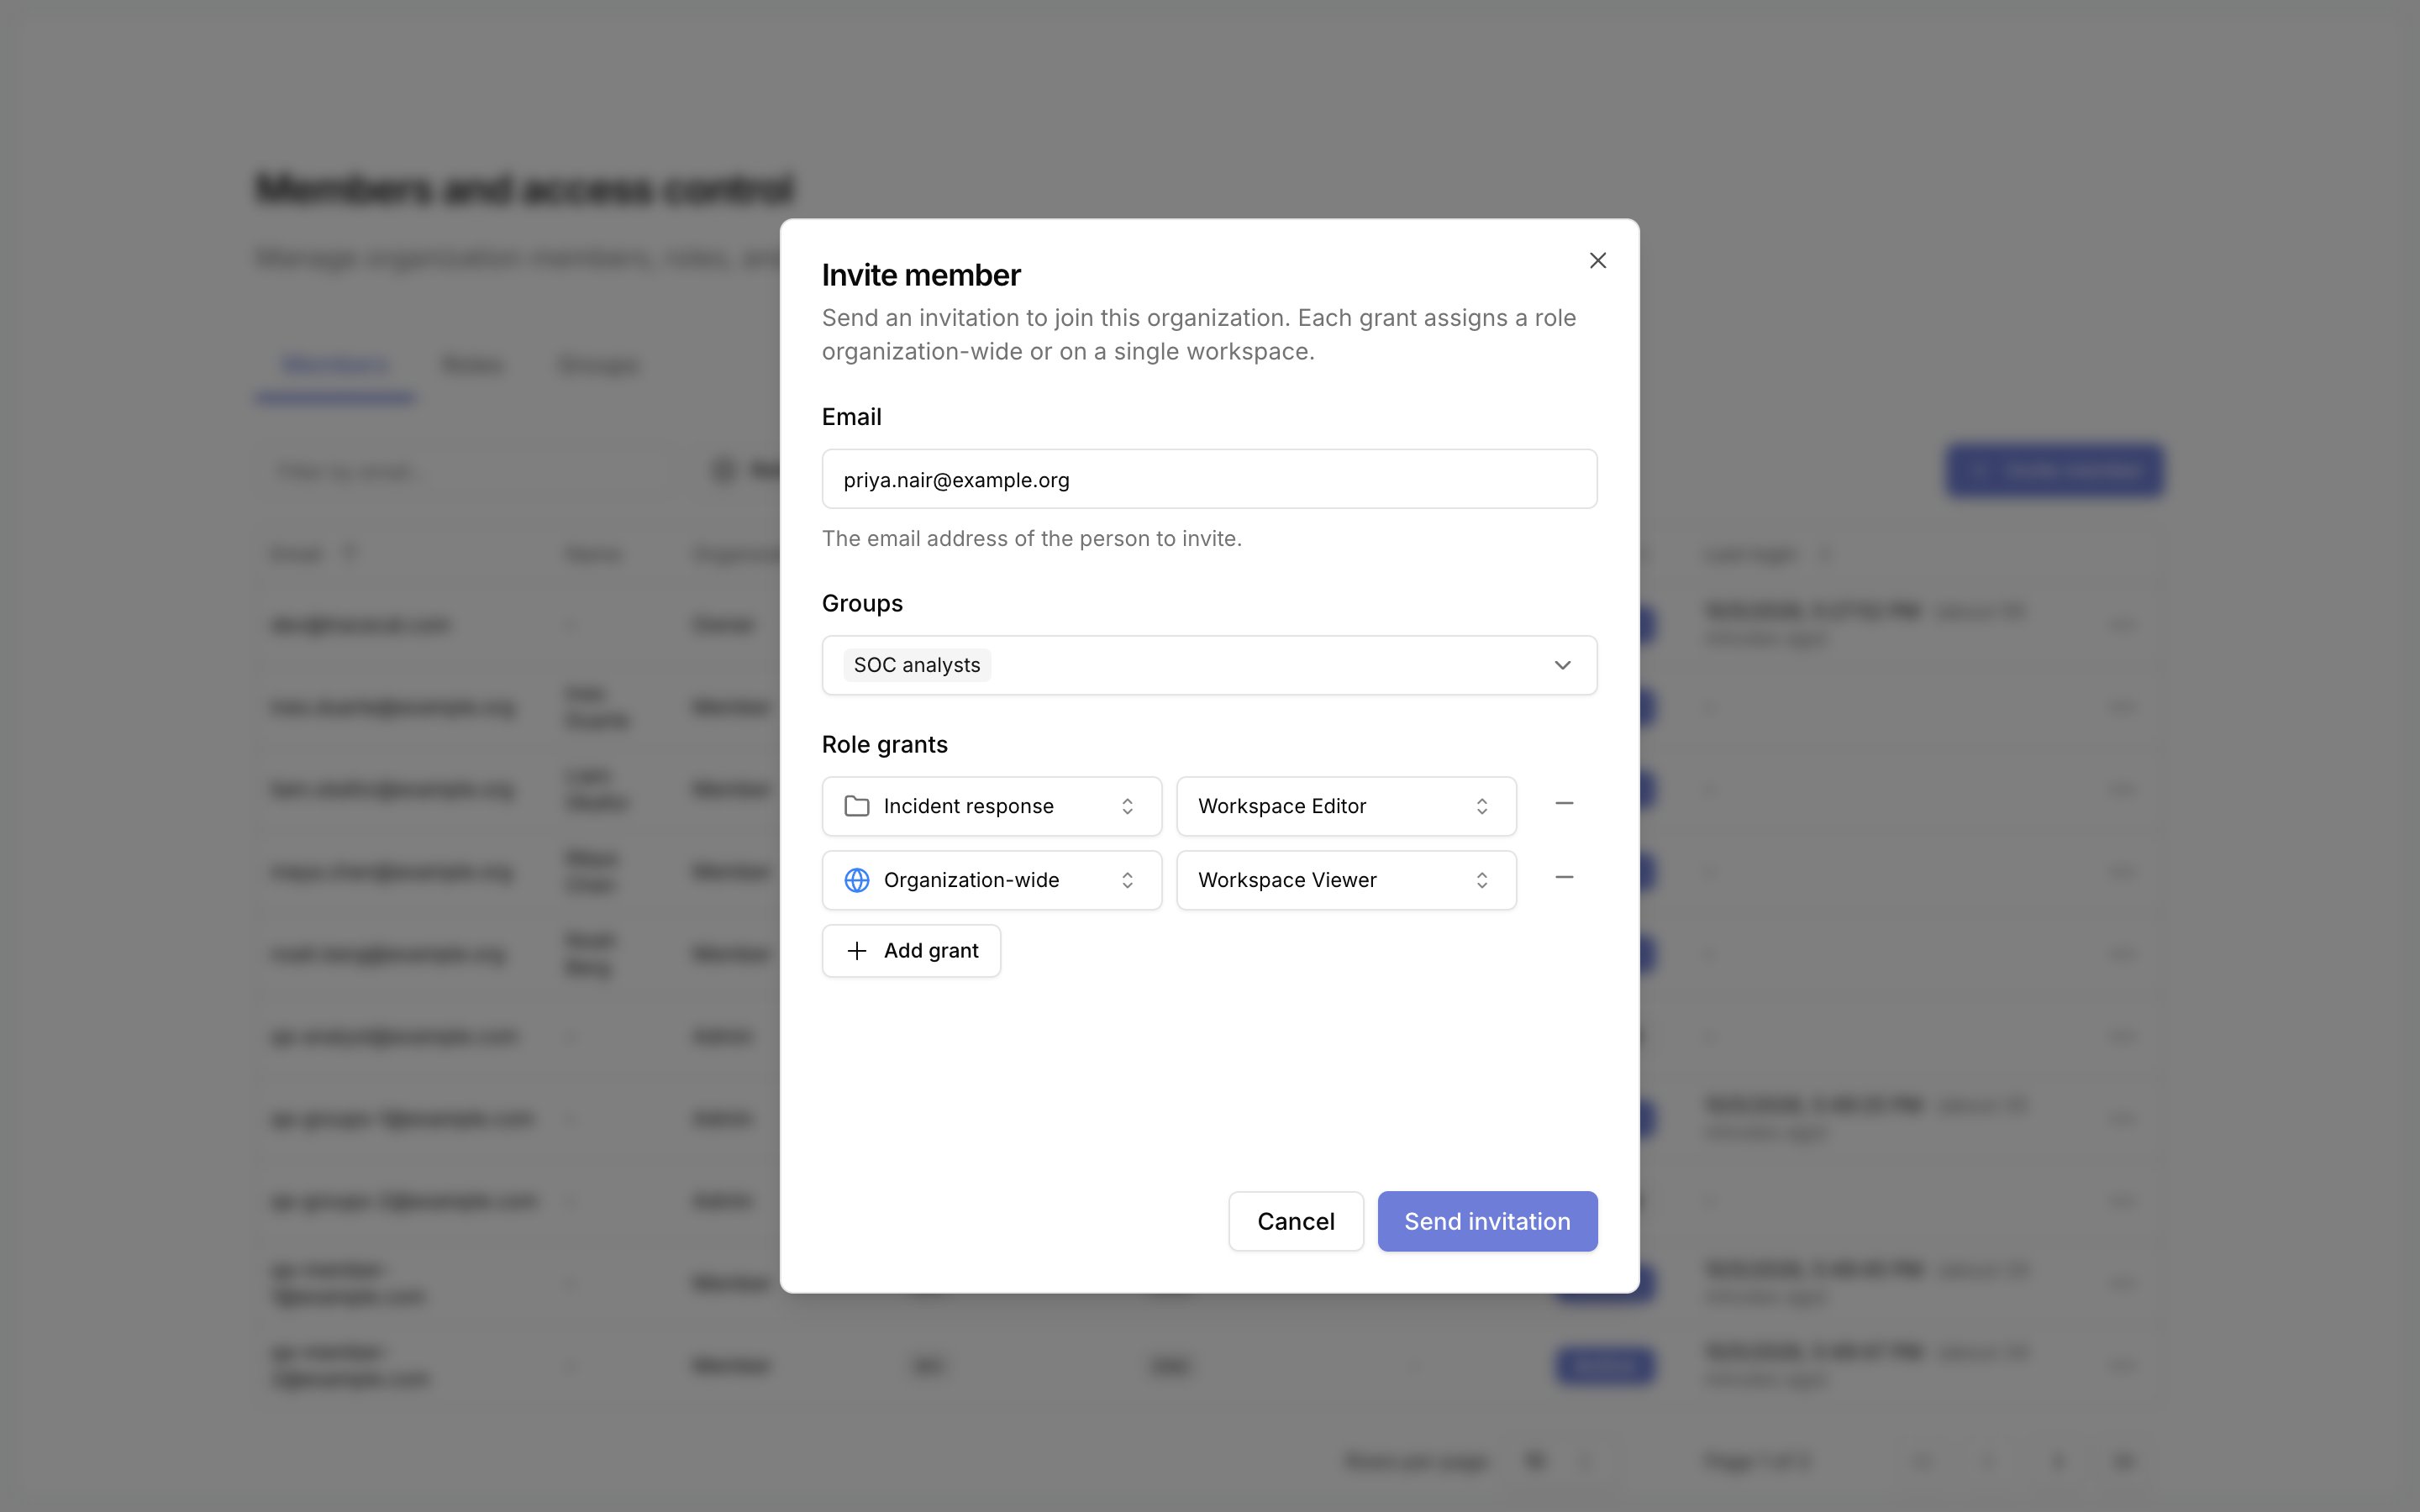
Groups and tick each group the invitee joins.3
Add role grants and send
Add at least one row under
Role grants, then click Send invitation.Custom scopes
Open/organization/settings/rbac and select the Scopes tab. It lists every scope in the organization, and Filter by source narrows it to Platform or Custom scopes. The Group assignments and User assignments tabs on the same page list every assignment.
Click Create scope to add your own. Names follow resource:action and use only lowercase letters, numbers, colons, underscores, dots, asterisks, and hyphens. Names cannot use the reserved prefixes org: or workspace:, including through a wildcard such as *: or o*:.
You can delete a custom scope. Platform scopes have no Delete action.
In a workspace
A workspace’s Members page lists users who hold a workspace role there: assigned on that workspace or organization-wide, directly or through a group. Organization owners and admins reach every workspace without appearing in this list.Related pages
- See Roles and permissions for the built-in roles, the Members tab, and changing a member’s roles.
- See User management for invitation links, resending, and acceptance.
- See Service accounts for machine identities that hold scopes directly, with no role.
- See Organization audit logs for the
rbac_role,rbac_group,rbac_group_member,rbac_assignment, andrbac_user_assignmentevents.