

Overview
Use Git sync to export workspace configuration to a repository you own as a pull request, then pull a reviewed commit into a workspace.Permissions
Organization admins configure providers. Workspace admins connect or change a workspace repository. Workspace editors can push and pull from an existing connection; viewers cannot sync. For custom roles, provider setup requiresorg:settings:update, changing the workspace connection requires workspace:update, and the workspace Git sync page requires workspace_sync:sync to push and pull.
Connect a provider
1
Open organization Git providers
Open 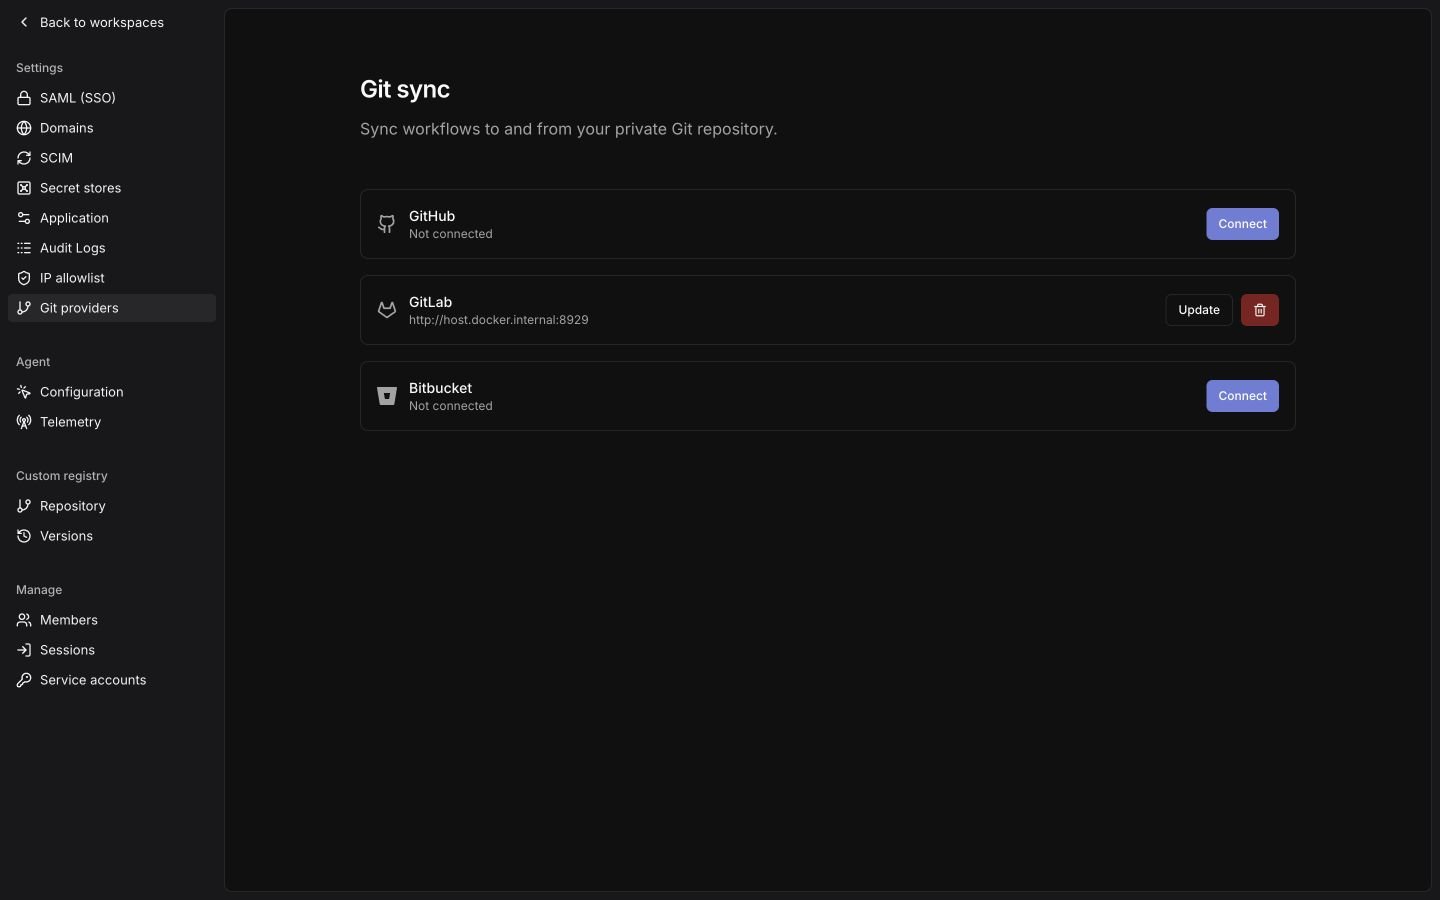
Git providers in the organization sidebar (/organization/vcs).2
Connect your provider
For GitHub, click
Connect, then create a GitHub App through the manifest flow or enter the ID and private key of an existing GitHub App. Install it on the repositories you want to sync.For GitLab, click Connect, then enter your base URL and a project or group access token with the api scope.For Bitbucket, click Connect (or Manage for an existing connection) to choose Cloud or Data Center.For Cloud, click Connect, then enter your Atlassian account email and a scoped API token. Select all four permissions:read:repository:bitbucketwrite:repository:bitbucketread:pullrequest:bitbucketwrite:pullrequest:bitbucket
Connect on the Data Center connection with your HTTPS instance URL and an HTTP access token granting repository write permission. Include any port and context path in the instance URL, such as https://bitbucket.example.com:8443/bitbucket.Use Update to rotate the token before it expires. Deleting these credentials disconnects sync across the organization; it preserves workspace resources, repository branches, and custom-registry credentials.Bind a workspace
1
Open workspace Git sync
Open
Git sync in the workspace sidebar, then choose a Provider configured by your organization admin.2
Connect the repository
Paste the repository’s SSH clone URL and click 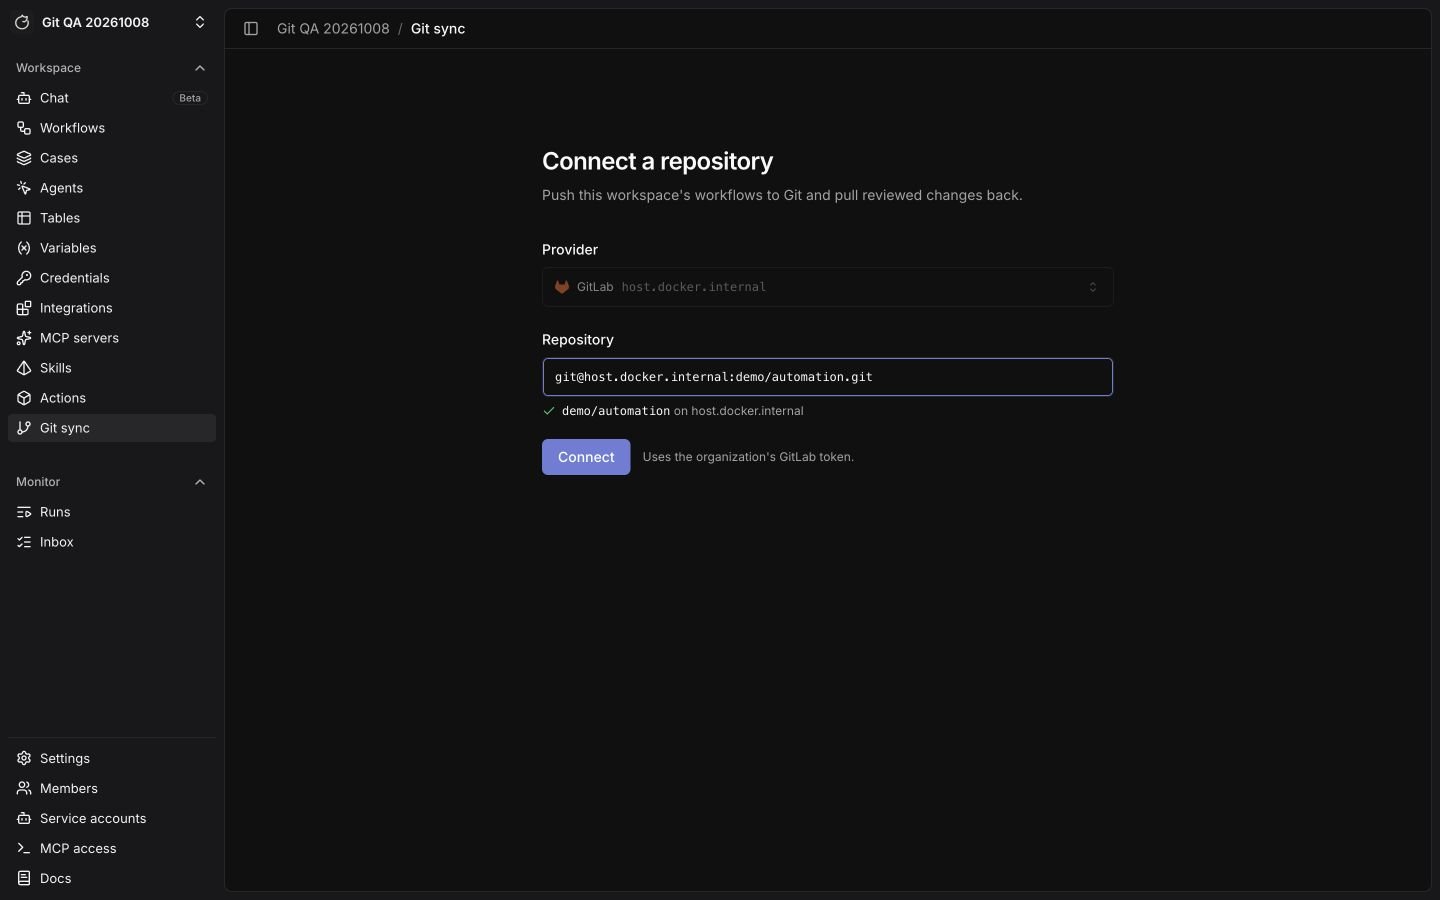
Connect. For GitHub, you can also choose a repository from the GitHub App installation list.Use git@github.com:example-org/example-repo.git, ssh://git@github.com/example-org/example-repo.git, or git+ssh://git@github.com/example-org/example-repo.git. HTTPS repository URLs and bare paths such as example-org/example-repo are not accepted.For Bitbucket Cloud, use git@bitbucket.org:example-workspace/example-repo.git. For Data Center, use git+ssh://git@bitbucket.example.com/PROJECT/repository.git. Its hostname must match the configured instance. Put the port and context path in the organization instance URL; Tracecat uses HTTPS with your HTTP access token for Git and API requests.Change the connection
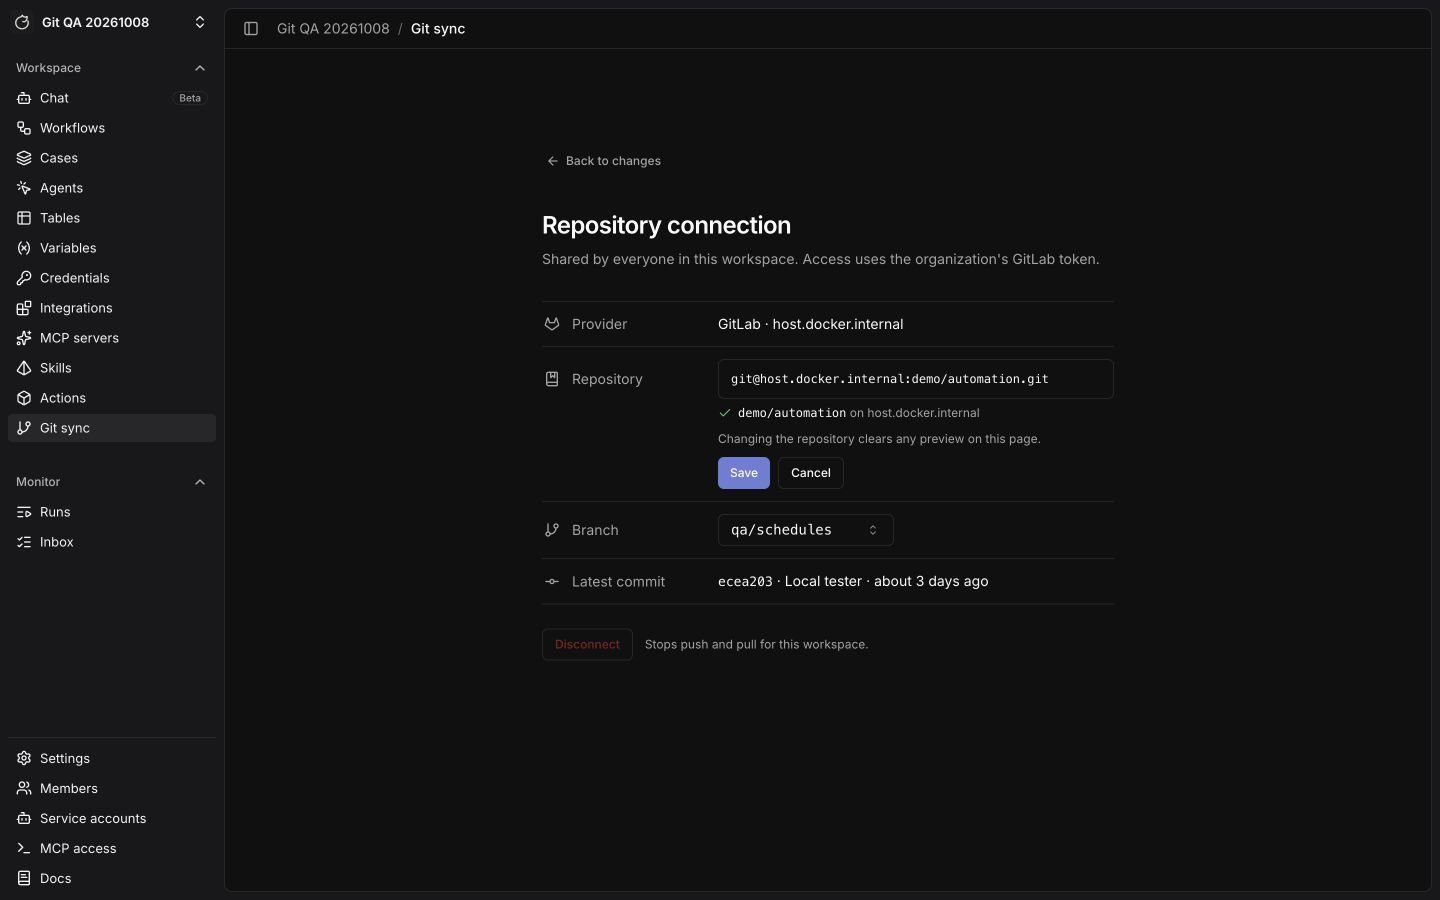
ClickEdit beside the repository name. Use Branch to choose the base branch for new exports and the commit list for pulls. A stored URL ending in @branch pins that branch; a URL without the suffix uses the repository default.
Click Change beside the repository to edit its SSH URL, then Save. Changing the repository or pinned branch clears the current previews. Disconnect stops push and pull until you connect a repository again; it preserves workspace and repository content.
What an export contains
A full export writestracecat.json and one directory per resource type: workflows, agent presets, skills, tables, case fields, case tags, case dropdowns, case durations, variables, and secret metadata. Tracecat writes each workflow to workflows/<id>/definition.yml and excludes schedules.
Exports carry configuration, not data:
- Forms export as a
form:block in their workflow’sdefinition.yml, with no submissions. - Tables export their column schema and no rows.
- Variables export key names and no values.
- Secrets export metadata only; a secret file with a
valueorvalueskey fails import. AWS-backed secrets also export their store name, secret name or ARN, and key mapping. If the target workspace has no authorized store with that name, the pull preview asks you to choose one. The choice applies to every secret that uses that store name.
Push and open a pull request
Use thePush tab to push the full workspace configuration.
1
Choose a branch and commit message
On the 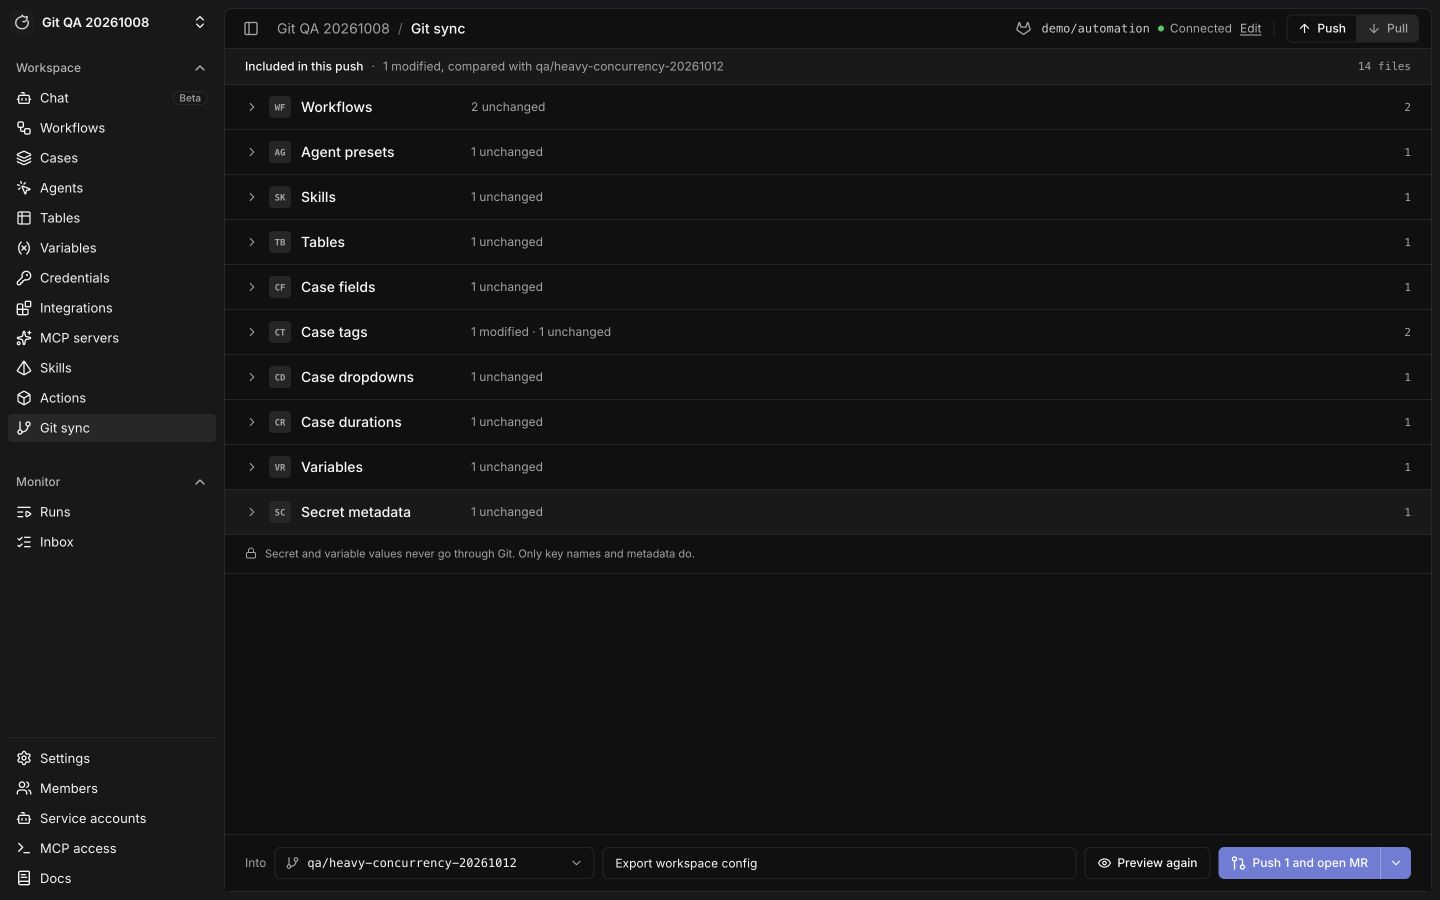
Push tab, use the branch picker beside Into to choose an existing branch or enter a new branch name and click Create. Enter a commit message. New branches start from the base branch. Tracecat blocks direct pushes to both the base branch and the repository default branch.2
Preview changes
Click
Preview to compare with the target branch, or the base branch when creating a branch. Expand a resource group to review its file changes. Use Preview again after making more edits.3
Push
Click
Push and open PR (Push and open MR on GitLab); the button includes the change count after a preview. Use the adjacent menu to choose Push only when you want a commit without a pull request. Tracecat commits only changed files, deletes stale files, and reuses an open pull request on the same branch.The pull request body names the workspace and the publishing user’s email.Push one resource type
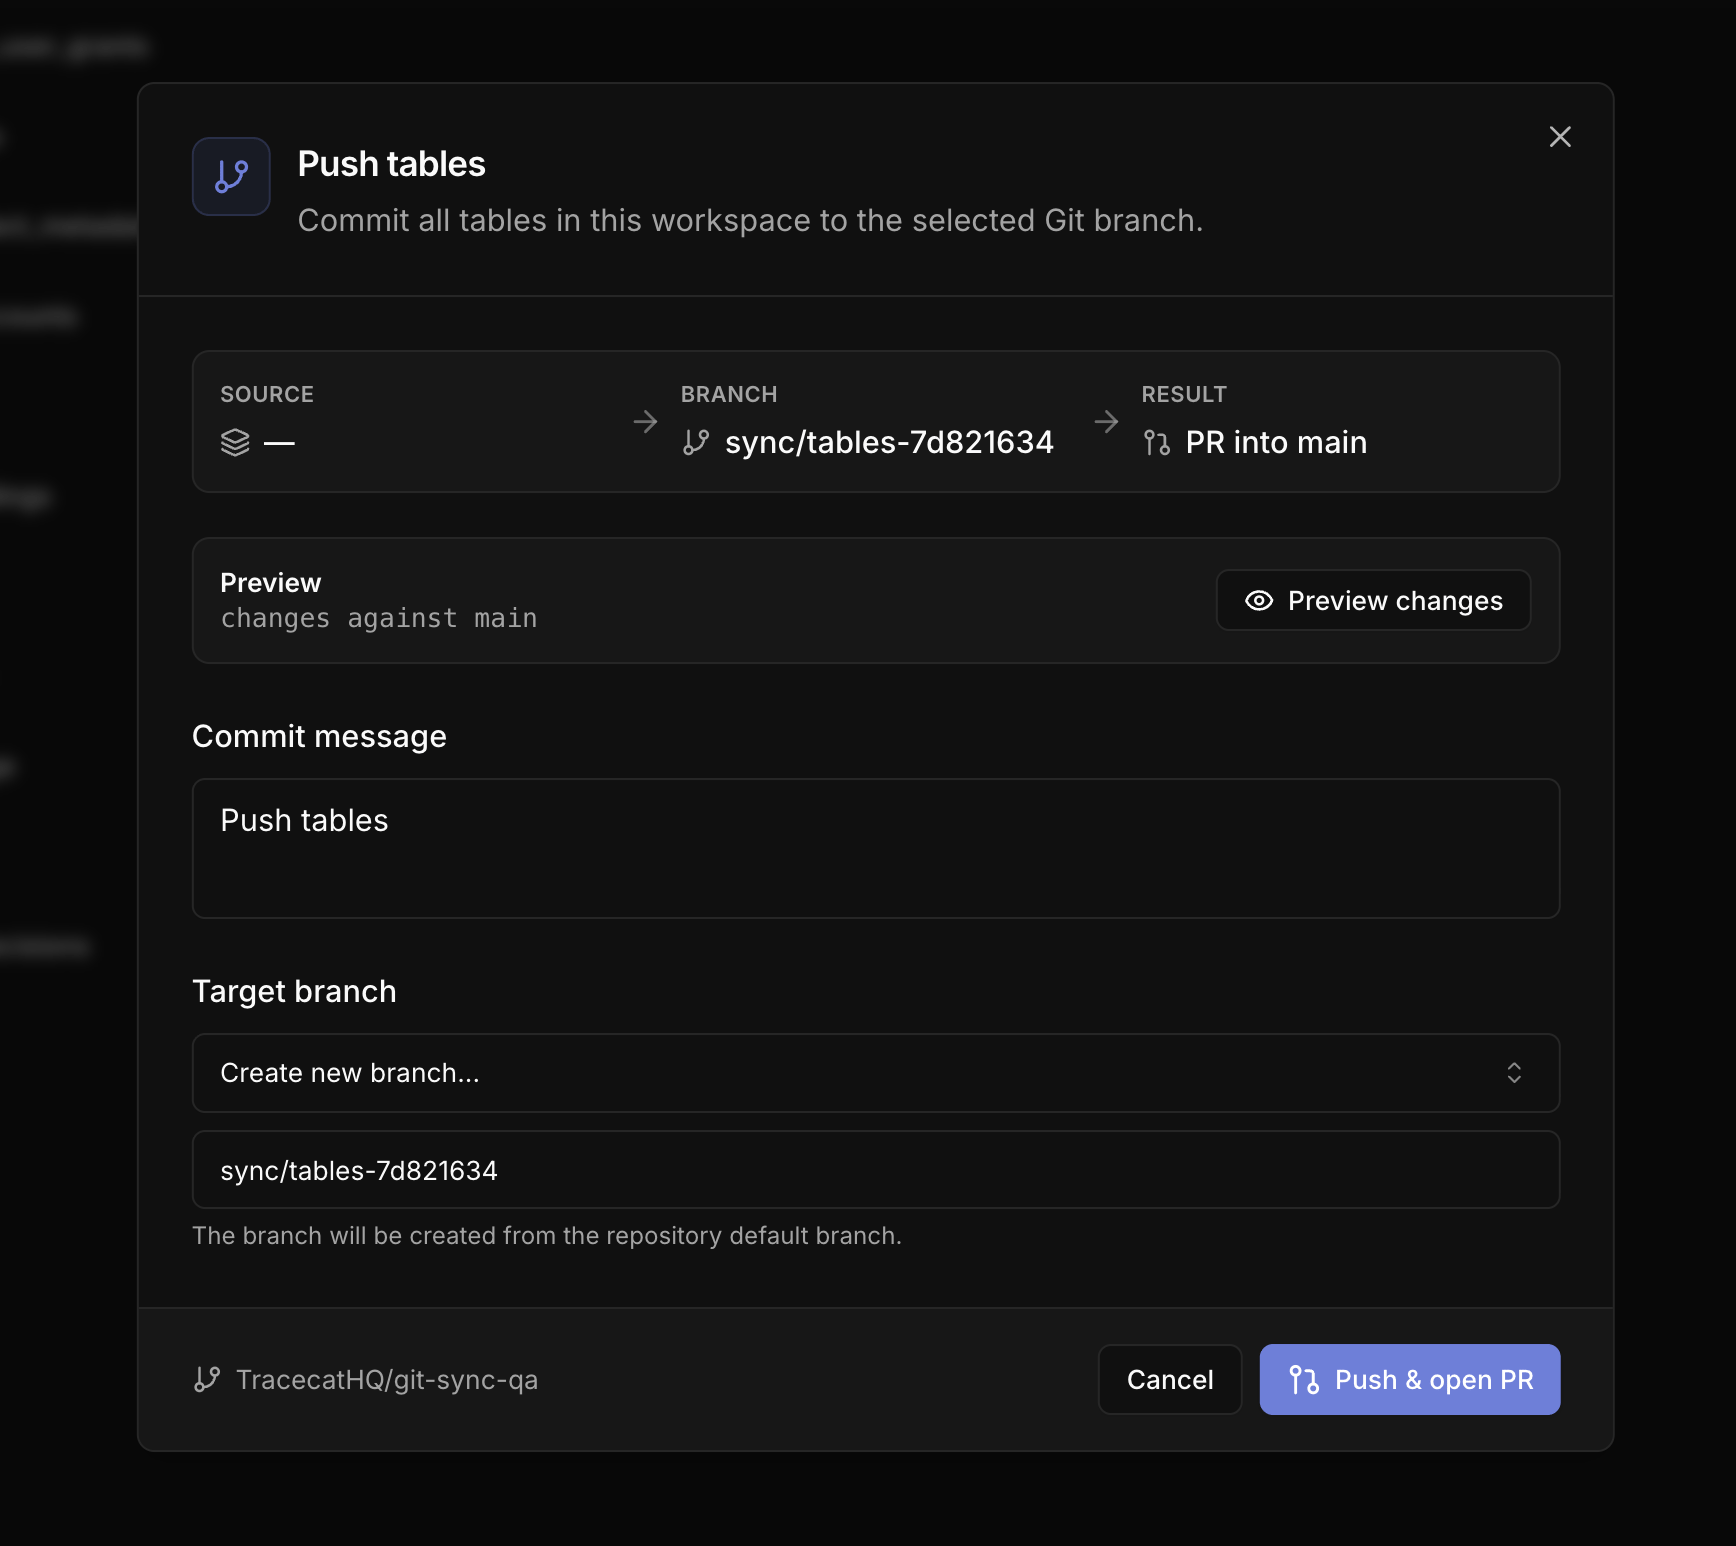
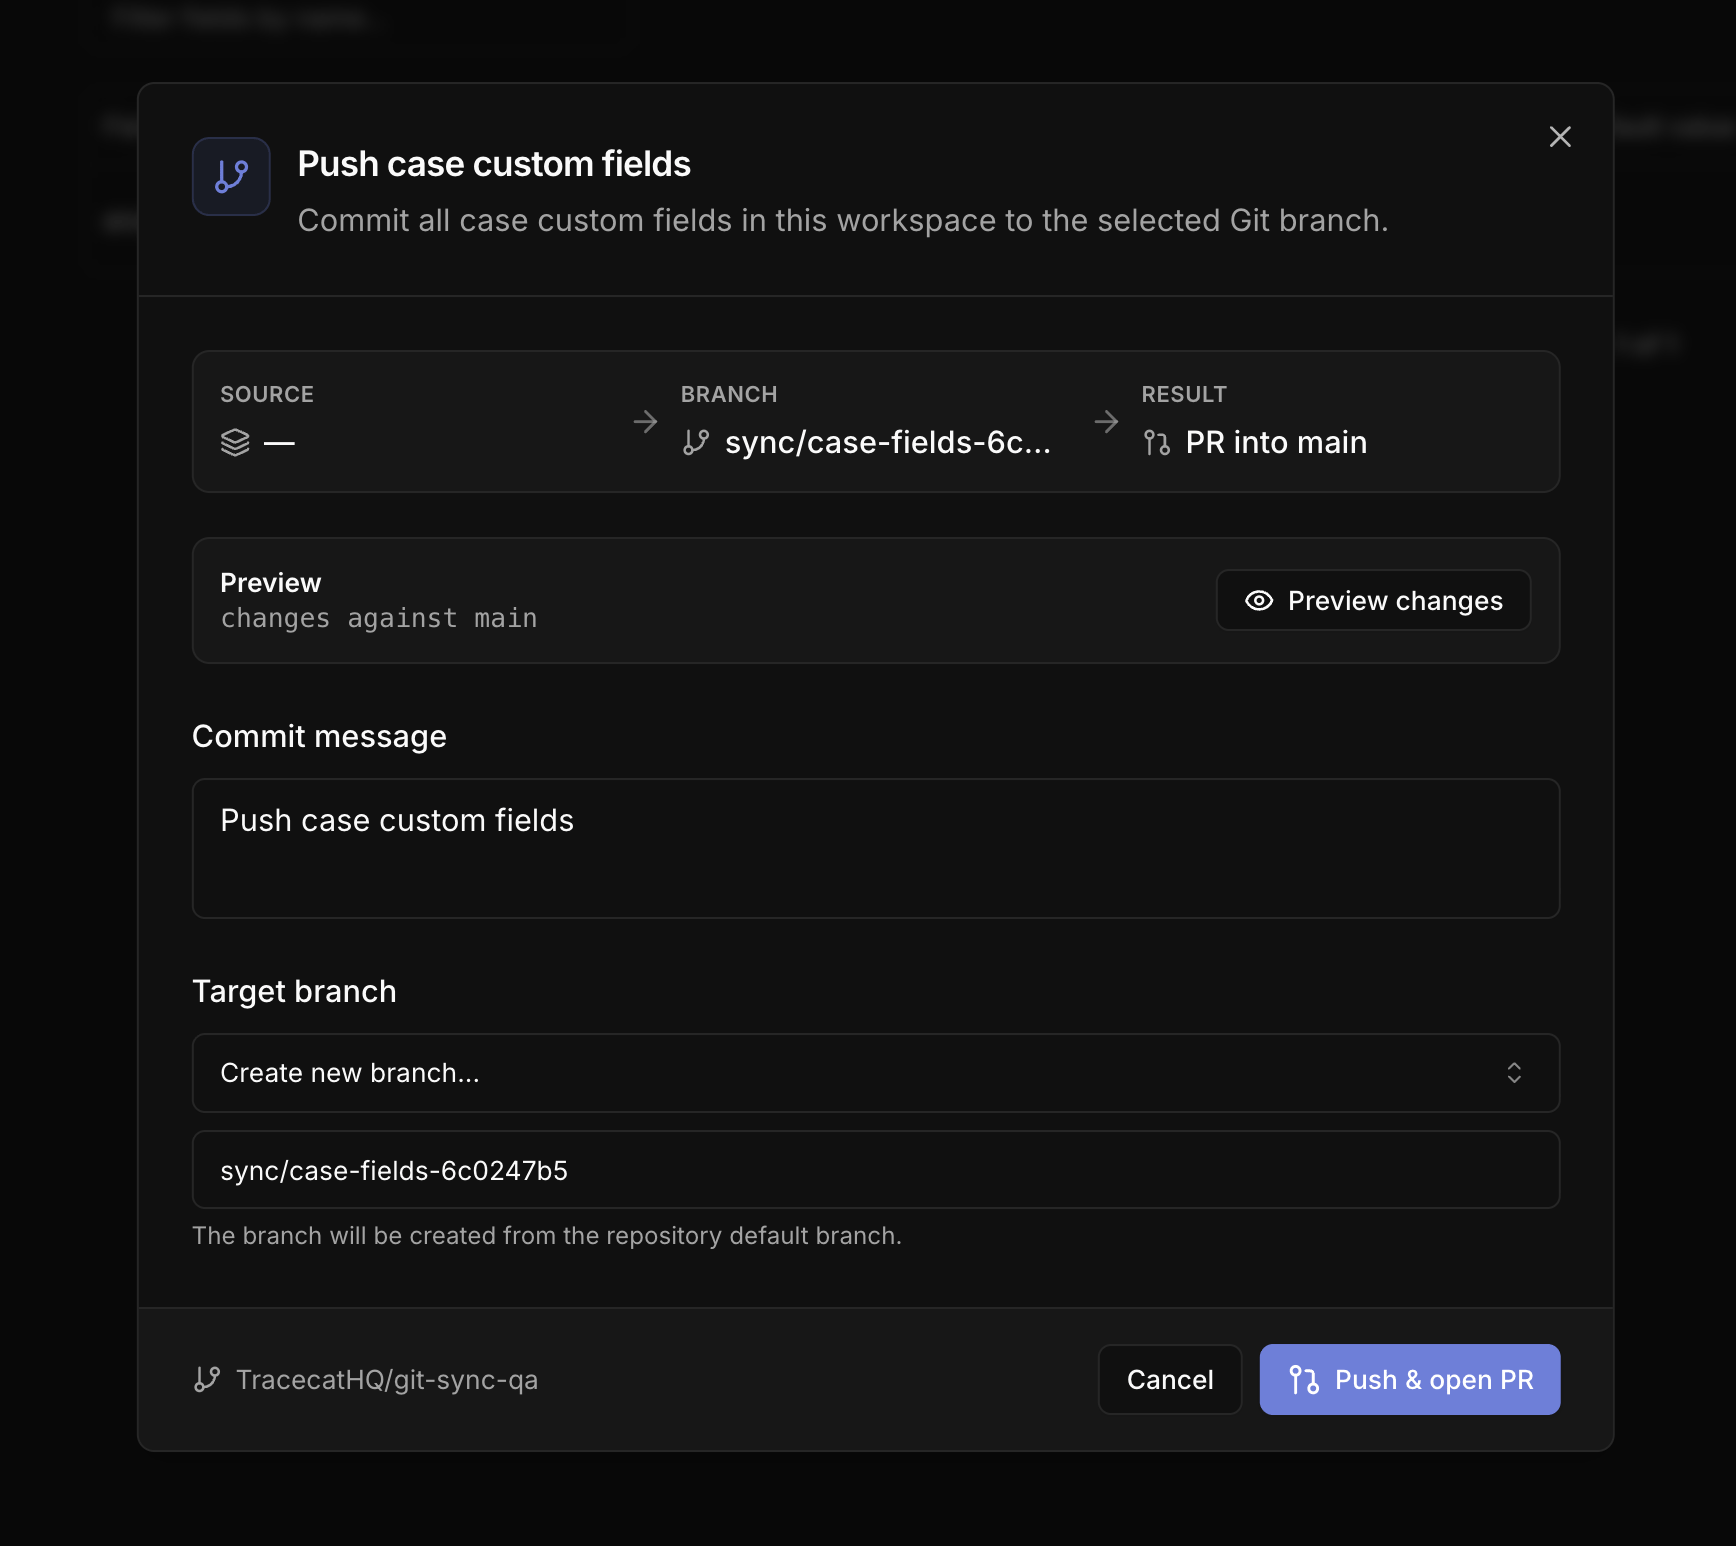
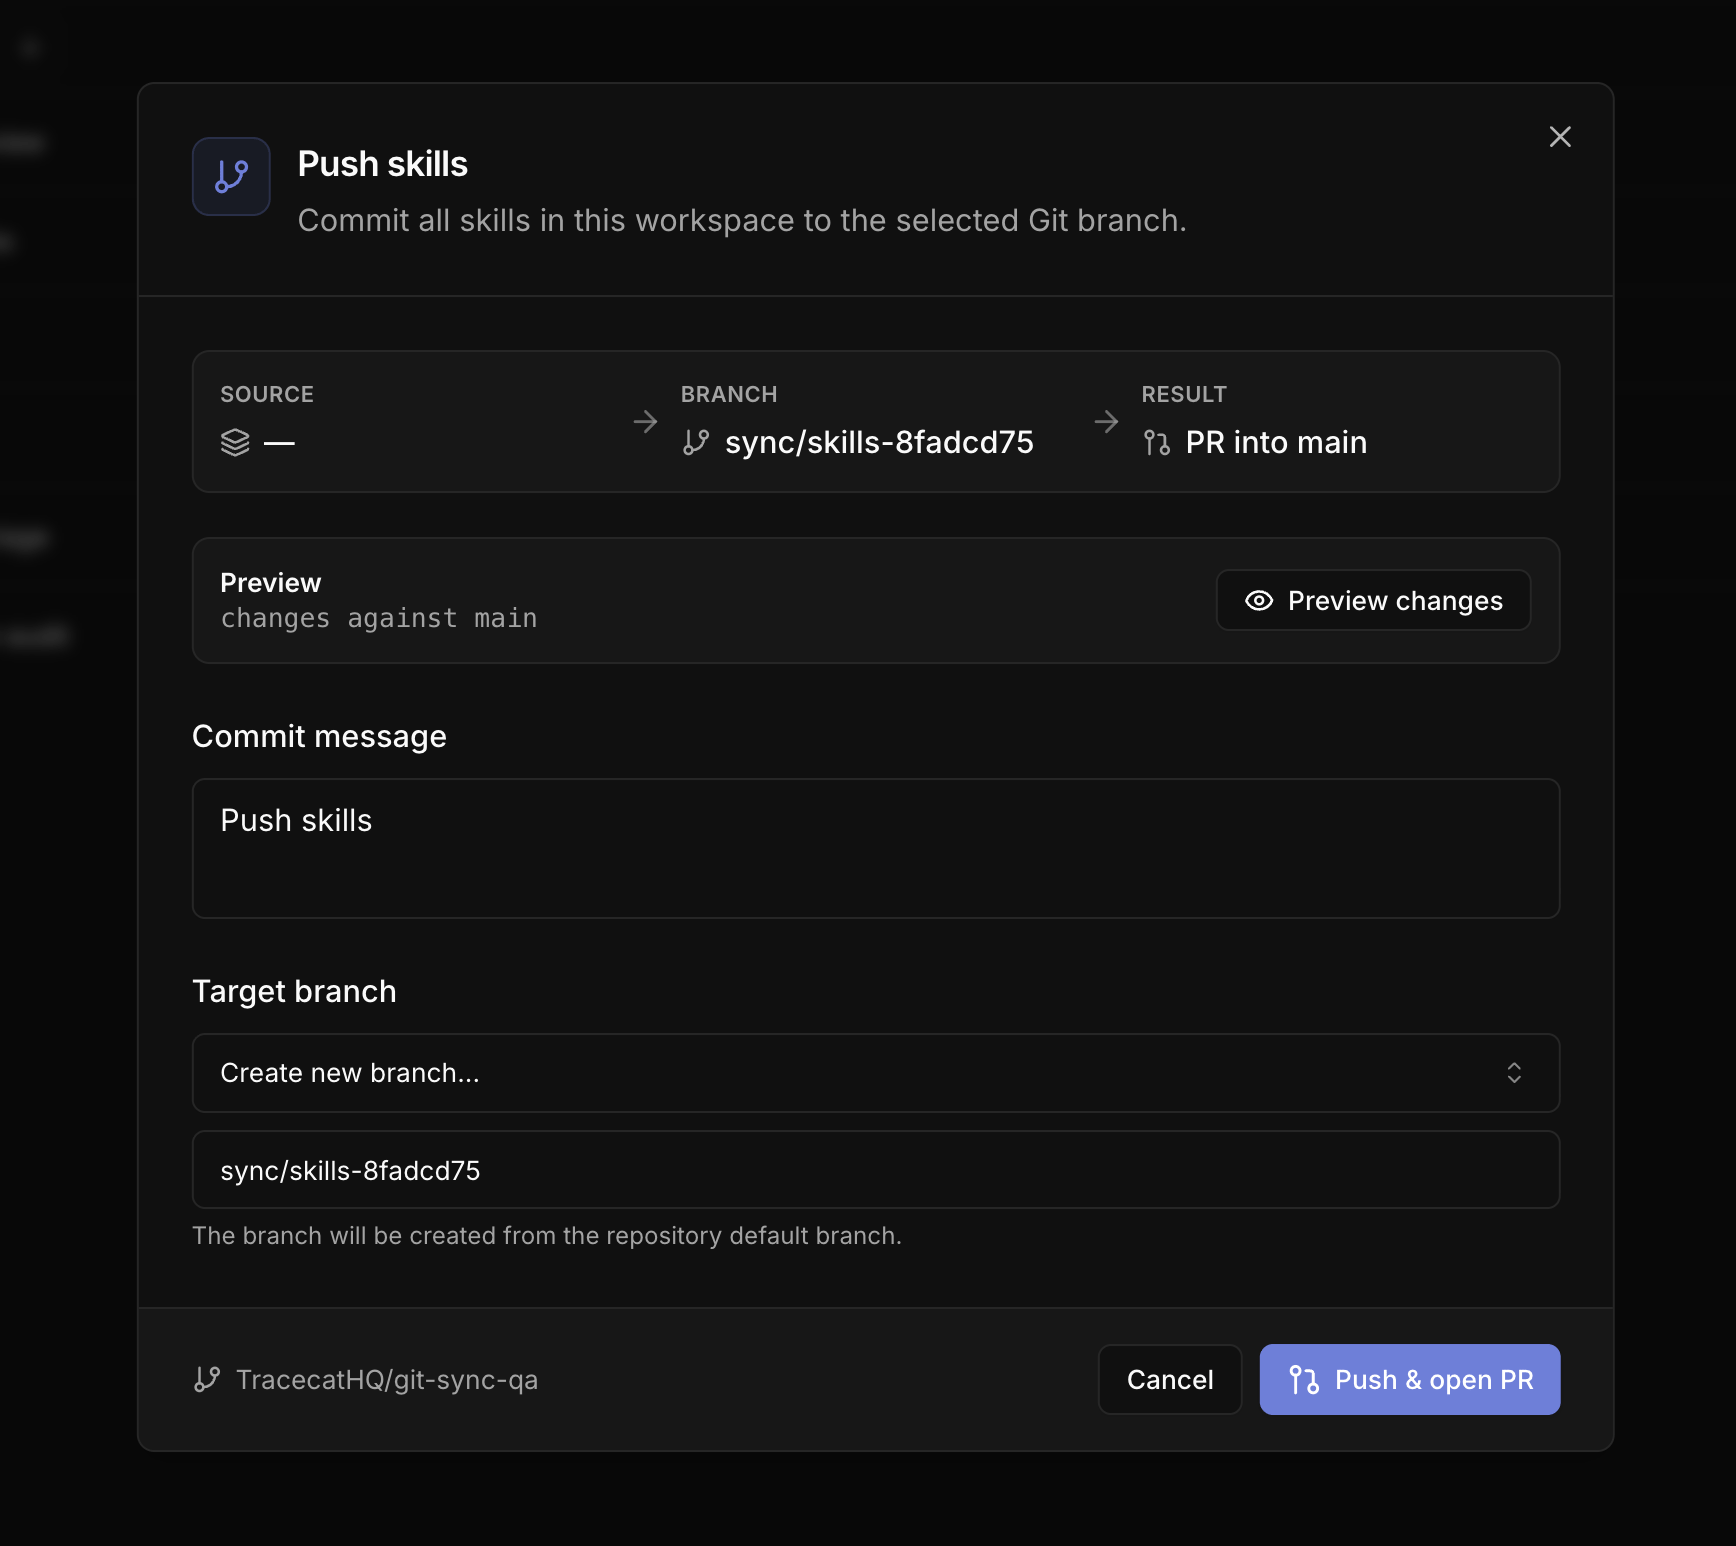
Each resource list page has its ownPush button, which exports that resource type plus everything it references onto its own branch.
- Tables
- Case fields
- Skills
Push a single workflow
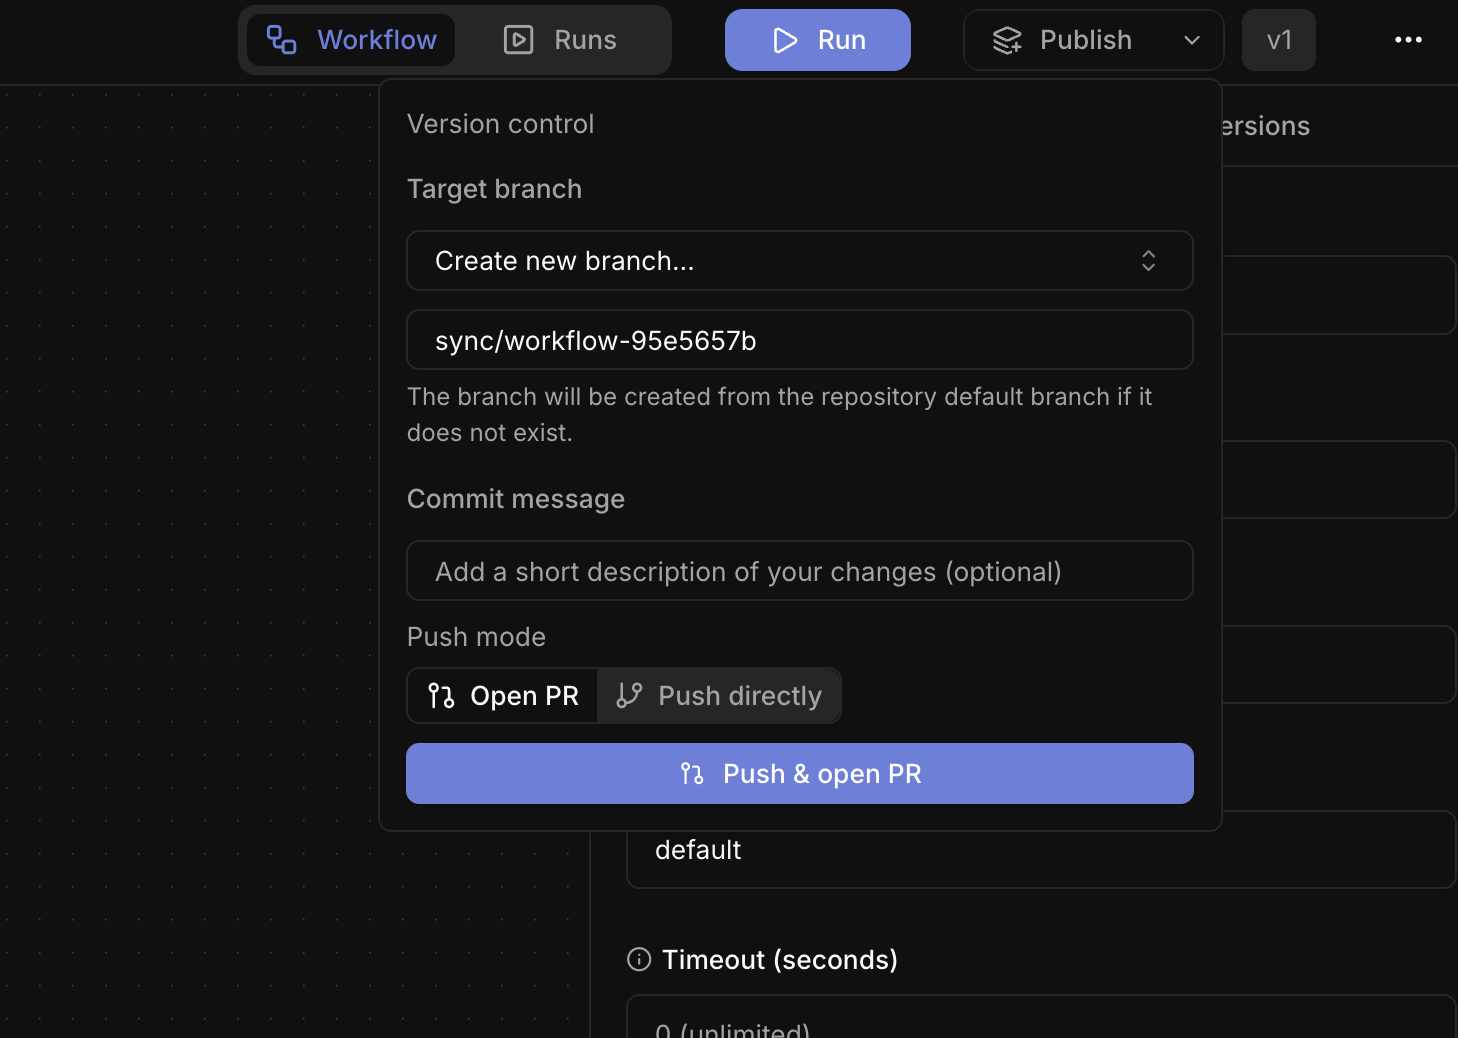
From the workflow builder’sPublish dropdown, choose Open PR or Push directly; a direct push commits to the selected branch with no pull request.
Pull a commit
A merged pull request changes nothing in a workspace until you or your pipeline pull that commit.1
Choose a commit
On the 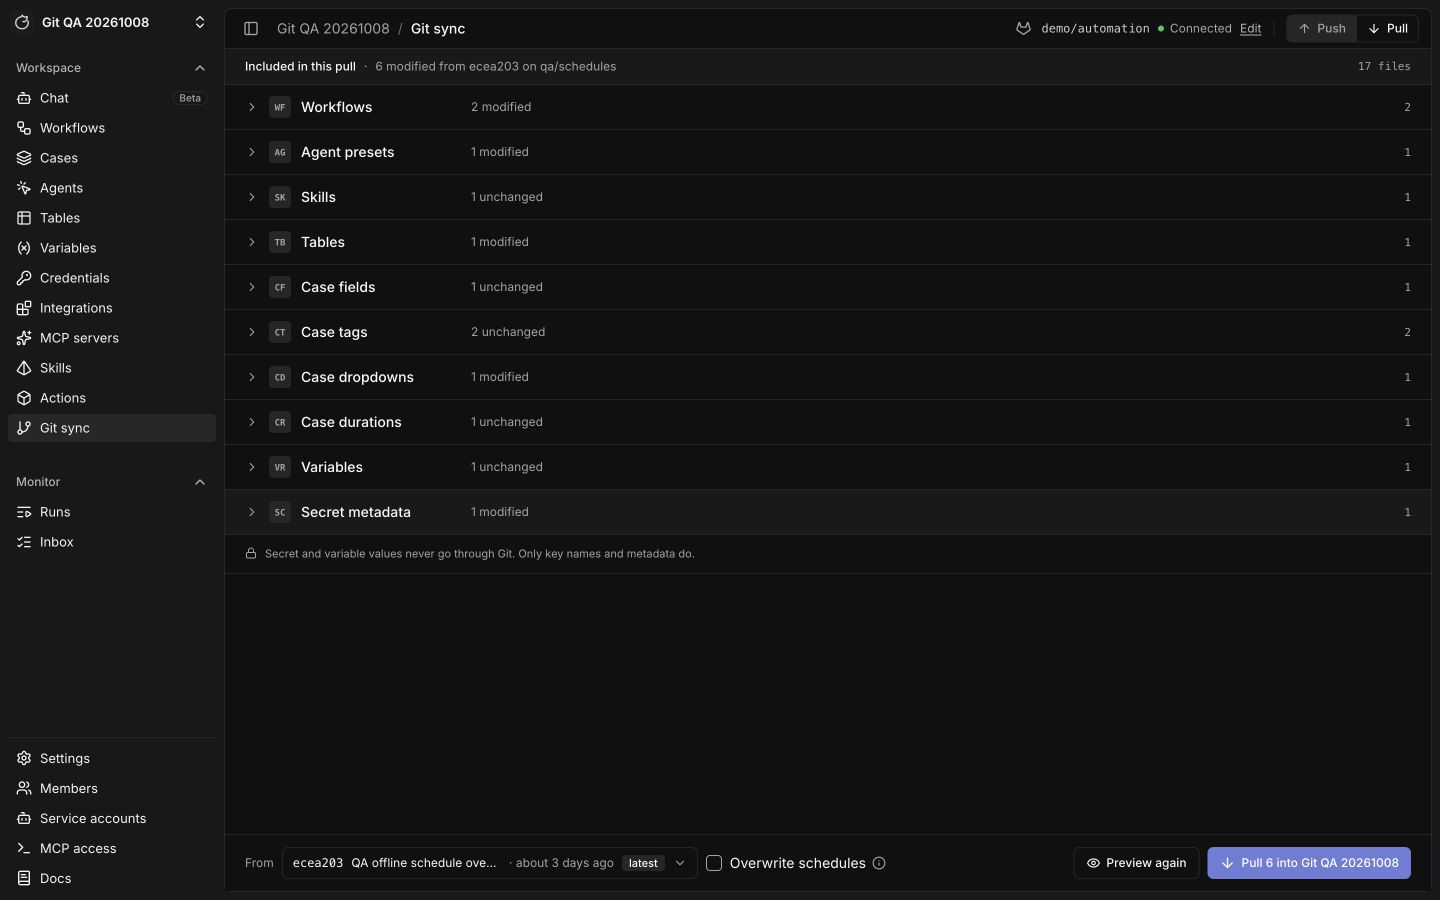
Pull tab, use the commit picker beside From to choose a commit from the base branch.2
Preview changes
Click 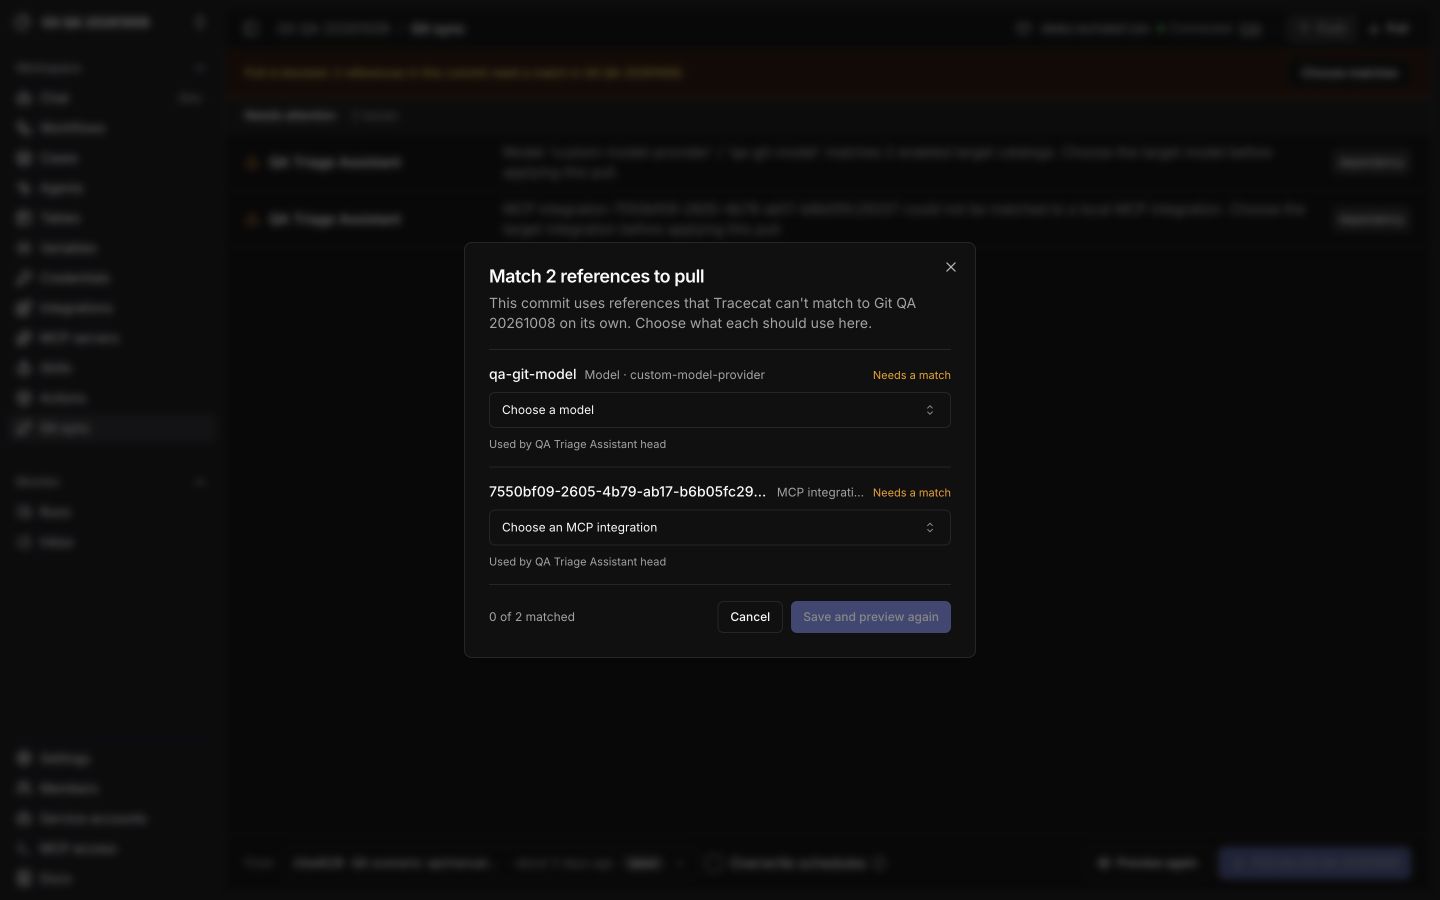
Preview to dry-run the pull. If Tracecat cannot resolve a model, MCP integration, or secret store, choose its target in the matching dialog, then click Save and preview again. Use Choose matches to reopen unresolved choices. Resolve any validation errors before pulling.3
Apply
Click
Pull into <workspace>; the button includes the change count after a preview. Tracecat enables it only after a successful preview for the same commit and options. A pull updates matching workspace resources and leaves schedules untouched unless you check Overwrite schedules. Changing the commit, schedule option, or reference matches requires another preview.Staging to production
1
Bind both workspaces
Bind staging and production workspaces to the same repository. Role assignments are per workspace, so grant
workspace_sync:sync (workspace-editor and above) in each.2
Push from staging
Build in staging, then choose
Push and open PR (MR on GitLab) from its Push tab.3
Review and merge
Merge the pull request in your repository, where branch protection and required reviews apply.
4
Pull into production
In production, select the merged commit, click
Preview, then Pull into <workspace>. Publish any workflow that needs a registry lock.API reference
Exporting a workspace requiresworkspace_sync:sync. Reading branches and commits, pulling, and publishing one workflow also accept workflow:sync, so a service account holding only workflow:sync can pull from CI.
Related pages
- See Security architecture for the GitOps model and how registry versions resolve after a pull.
- See Custom registry for syncing custom actions into the registry, which is separate from workspace Git sync.
- See Roles and permissions for the scopes that gate connecting, exporting, and pulling.
- See Workflows for YAML export and import without Git.